


This component is used to send an email based on the selected template.
To send emails, it is necessary to have an account on the “Mailgun” platform and integrate it with wolkvox.
It belongs to the component group called “Basic” and is available for all types of routing (Voice, Interactions, Chat, CRM + Webhook), and Agent Scripting.
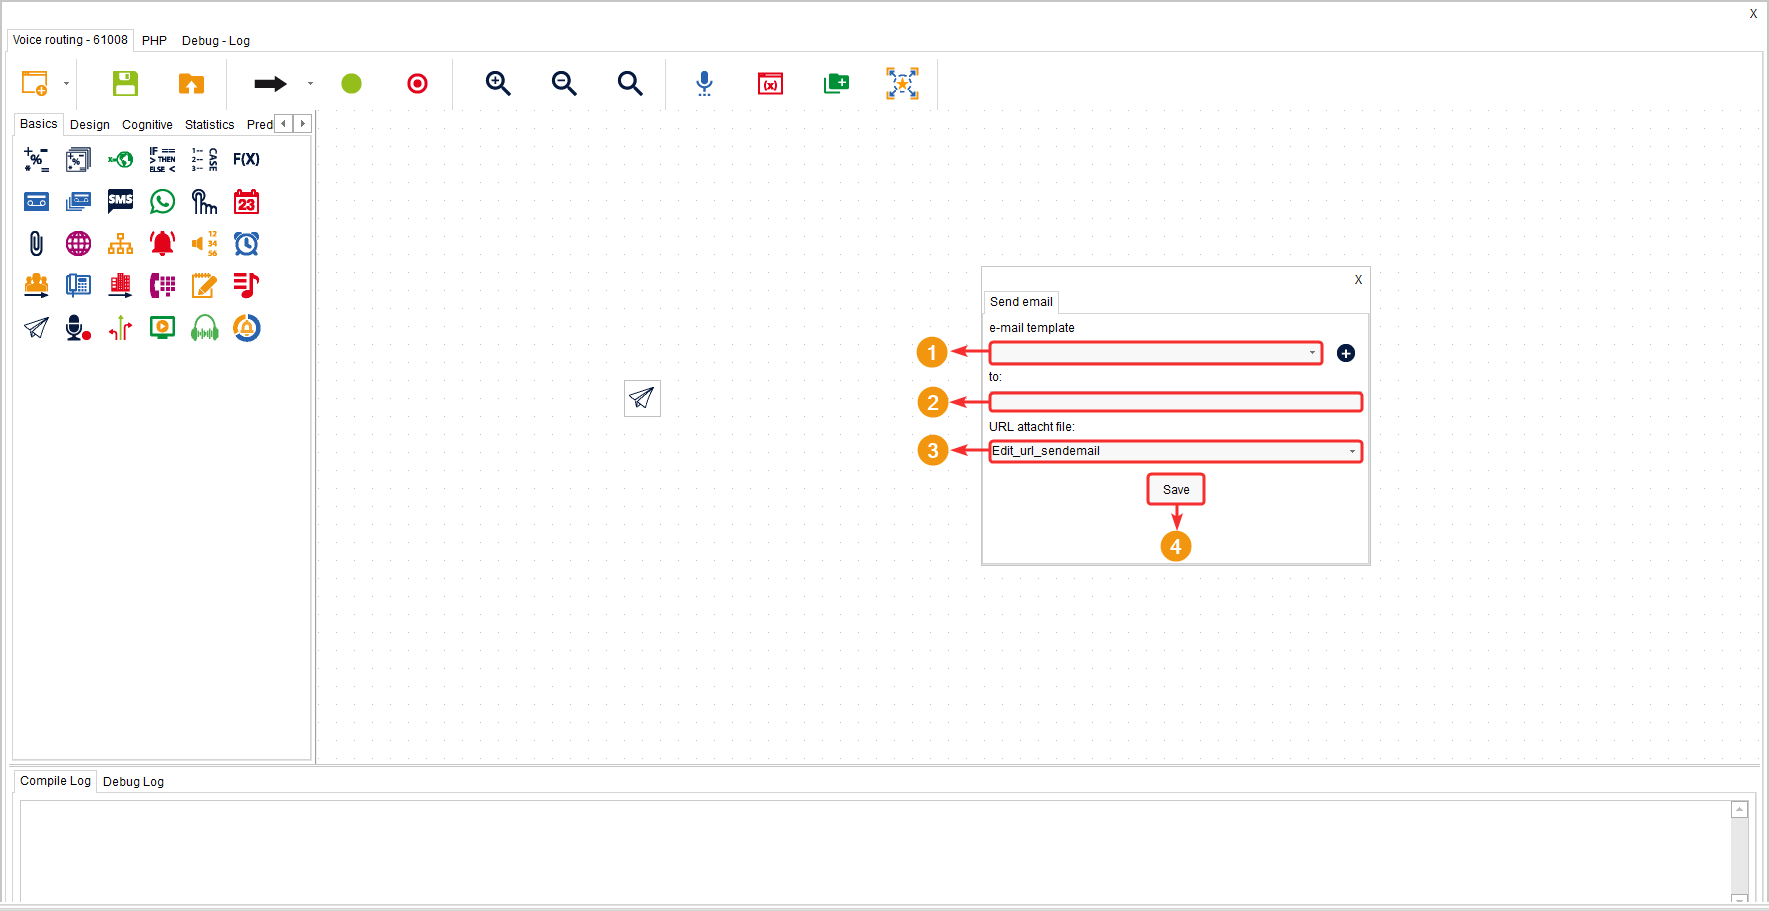
Configuration #
- Select the email template you want to use.
- In the “To” field, enter the variable that contains the email address of each client.
- In the “URL attacht file” field, you can optionally add a public URL that contains a document to attach.
- Click “Save” to apply the component’s configuration.
To create a new email template, click on the “Add template” button.
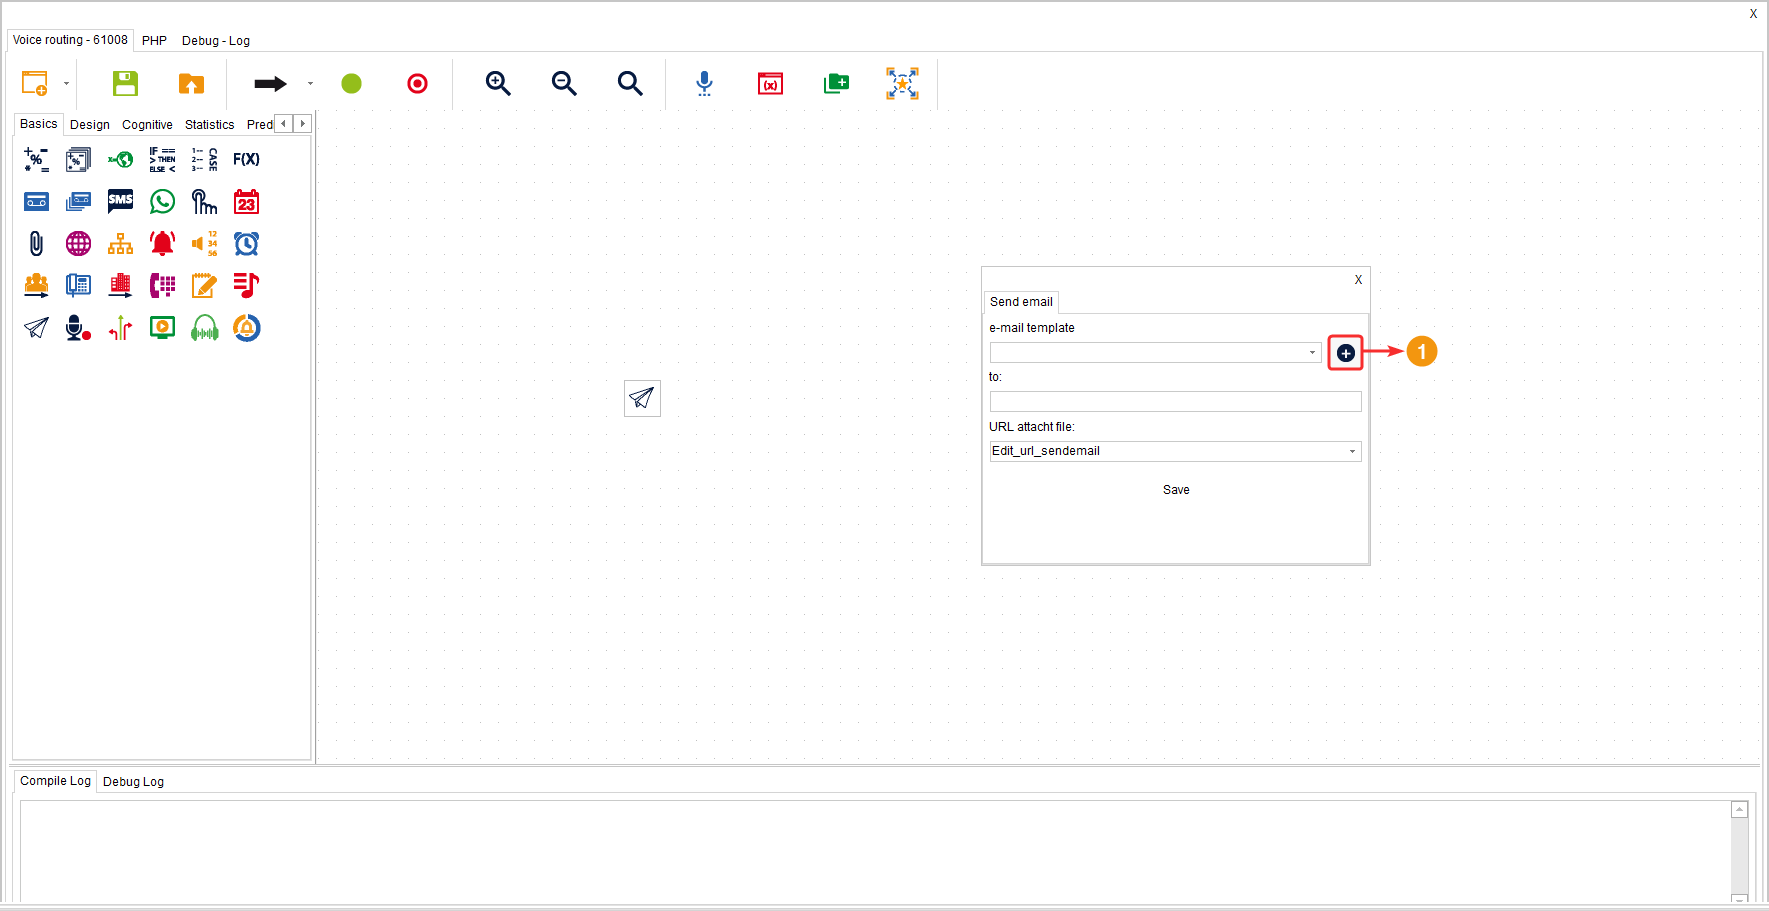
To learn how to create an email template, click here.
