Language configuration #
In this section, you can configure the language of your Wolkvox CRM.
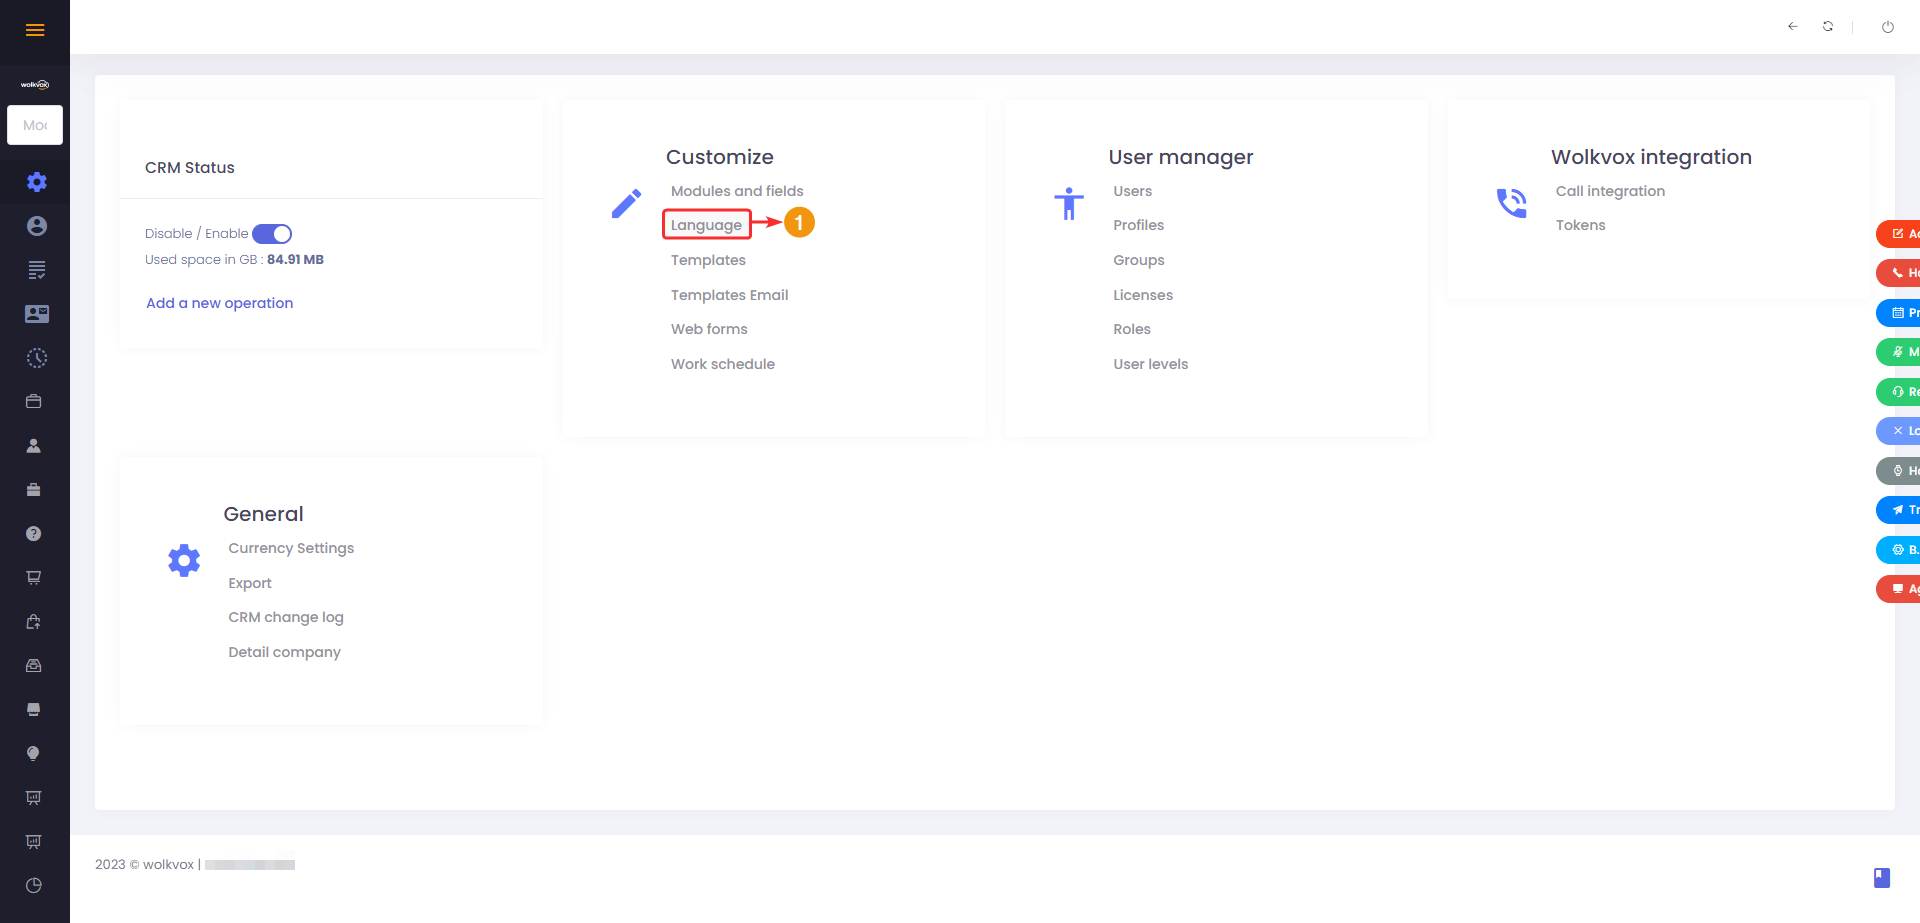
Configure a Language for All Users #
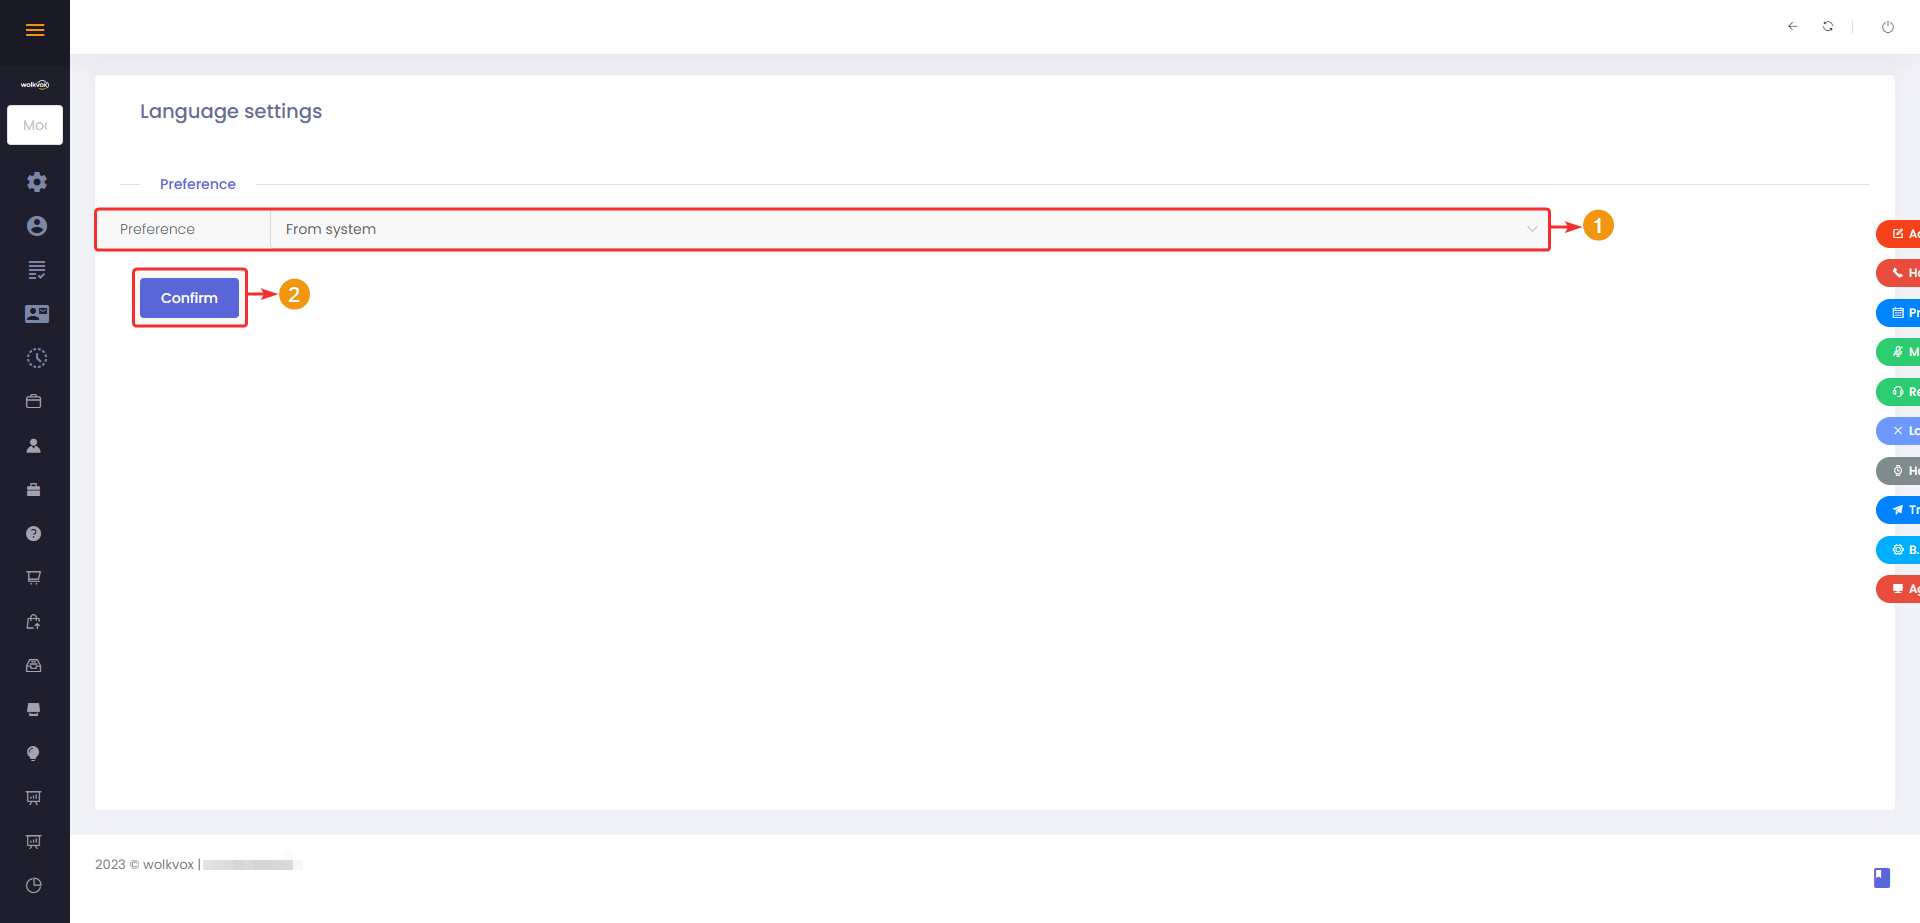
The first language option in Wolkvox CRM is to manually set the platform’s language.
- Select the “From CRM” option in the “Preference” field.
- The available languages will appear in the next field (every user accessing the platform will see the CRM interface in the selected language here).
- Click “Confirm” to apply the changes.

Configure the Language for Each User to Match Their Browser Language #
The other language option is to display the interface in the language of the user’s browser.
- In the “Preference” field, select the “From system” option.
- Click the “Confirm” button to apply the changes.
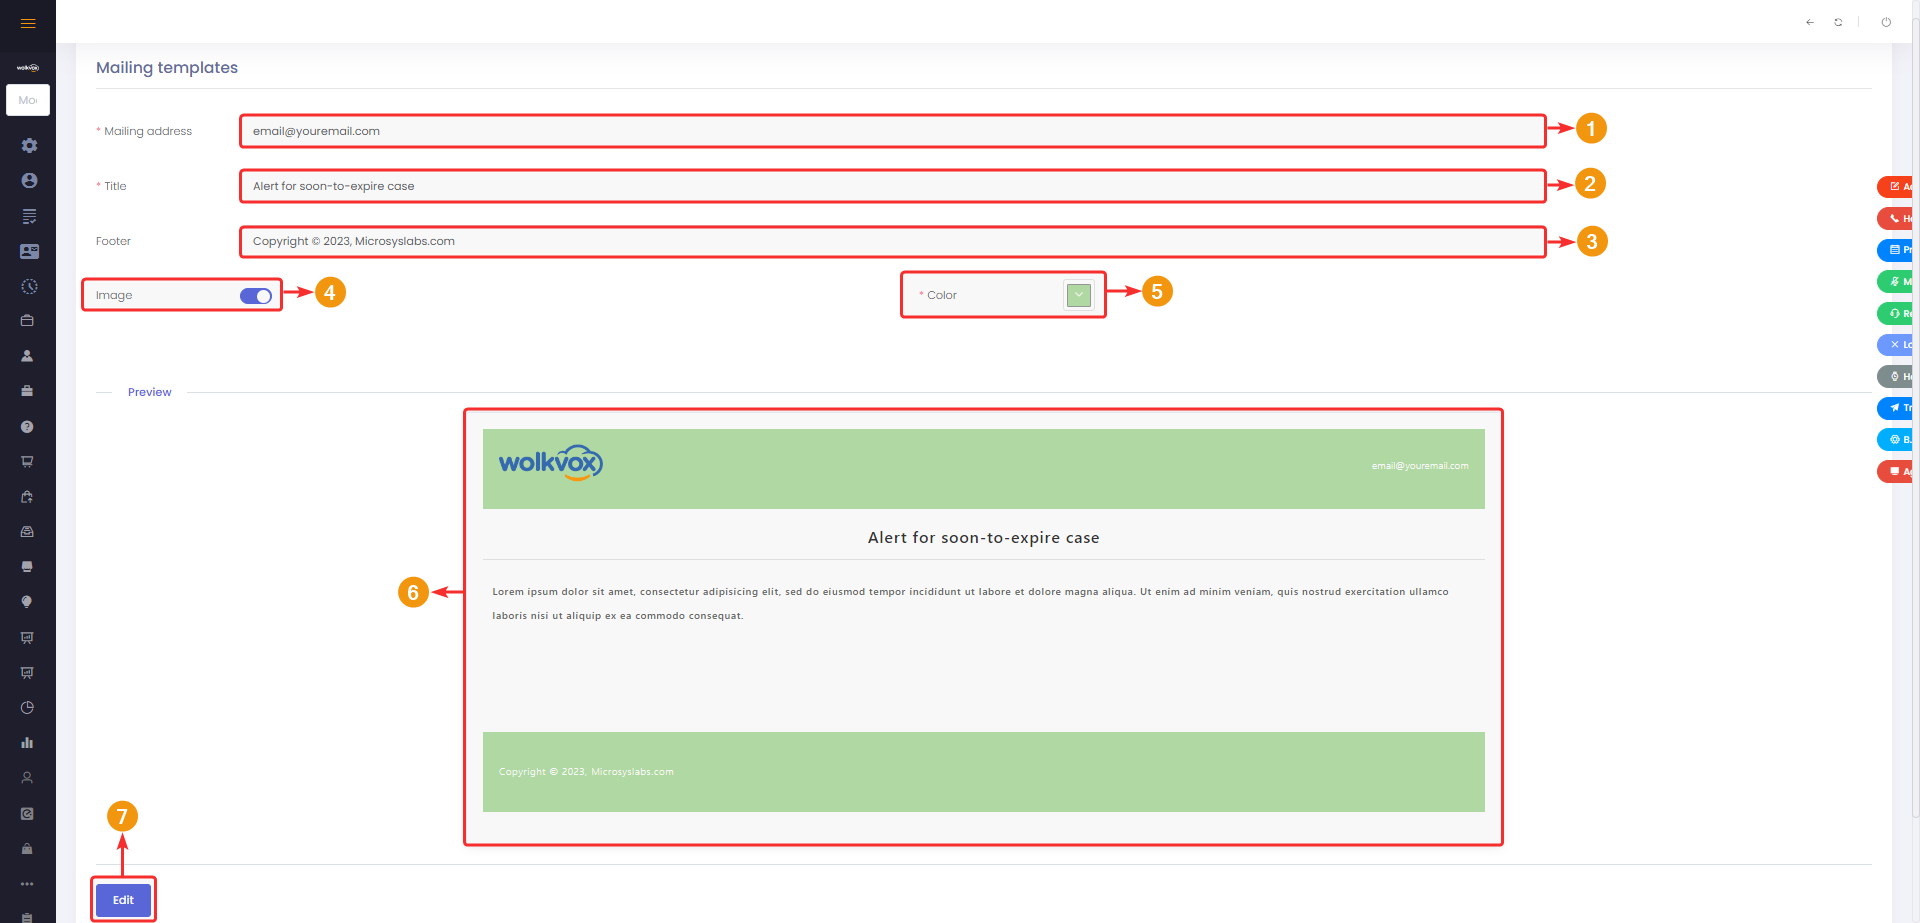
Creation of Email Templates within Wolkvox CRM #
This section allows you to create email templates if you don’t have any custom ones.
Go to “Settings” and then click on the “Templates” button, located in the “Customize” group.
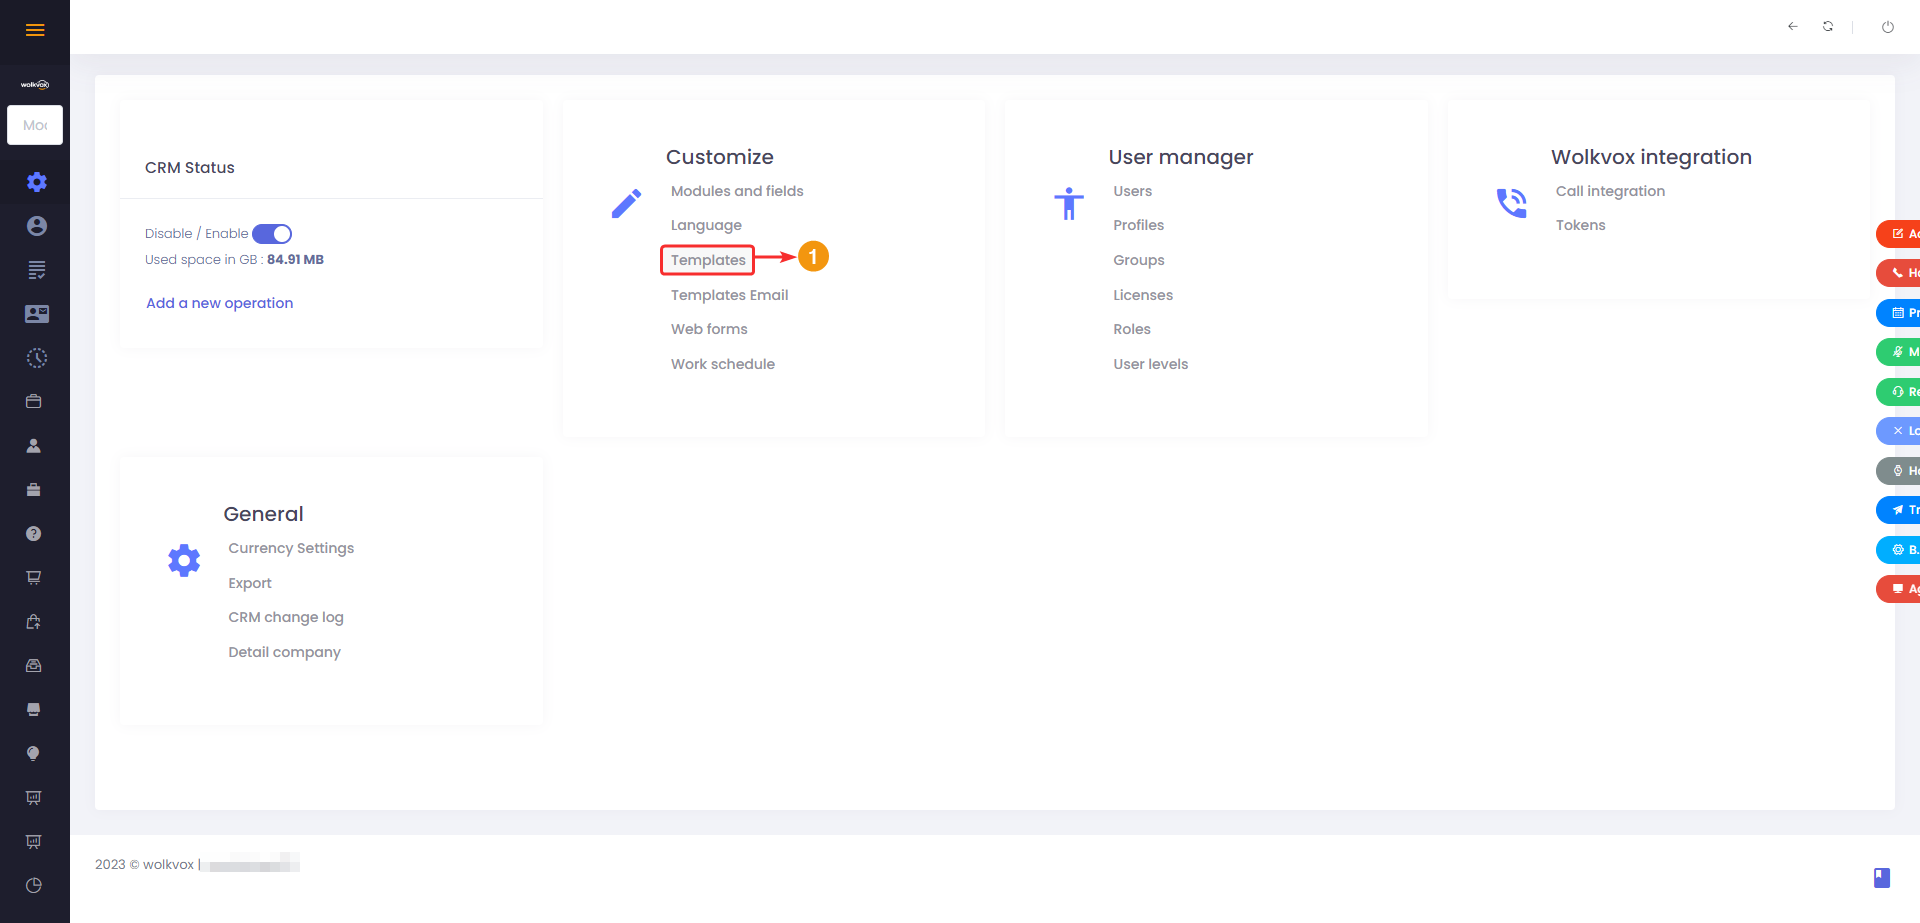
Once inside, follow these steps:
- Email address to be used for sending emails.
- Email subject.
- Email footer.
- Enable or disable the header image in the email.
- Select a color that will affect the header and footer background.
- You can preview the changes you are making.
- Click “Edit” to apply the changes.
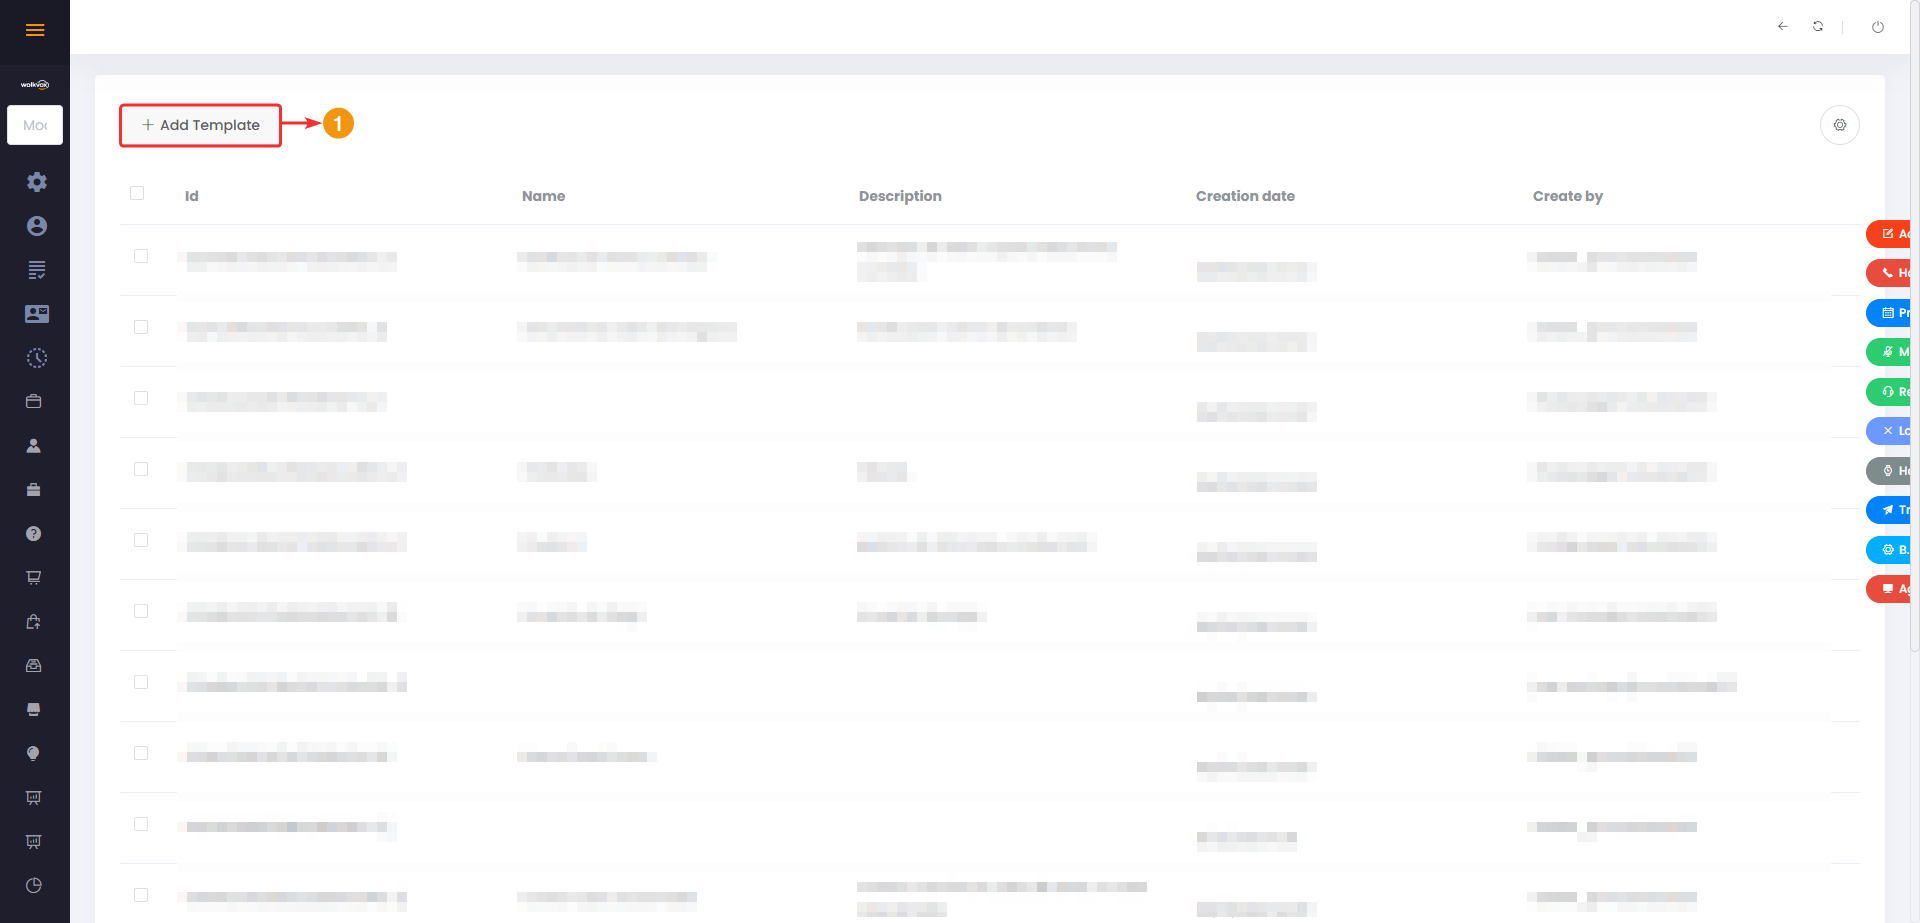
Creation of Custom Email Templates #
In this section, you can create all templates that you build yourself using HTML language or the rich text editor.

Add a New Template #
Click on the “Add Template” button.
- Enter a name for the template.
- Select the module where you want to use the template.
- You can add a description about the template.
- Enter the sender’s email address.
- In the “Destination Email,” you can add the variable that contains the email data of each client. This variable is [wolkvox_emailcontact].
- Enter the subject of the email. Here you can also use variables, such as [wolkvox_namecontact] to display the name of each client.

In the field at the bottom of the form, click on the “source code” button to edit in HTML code and start designing the email template using that language, or paste the HTML code of one you have already created.
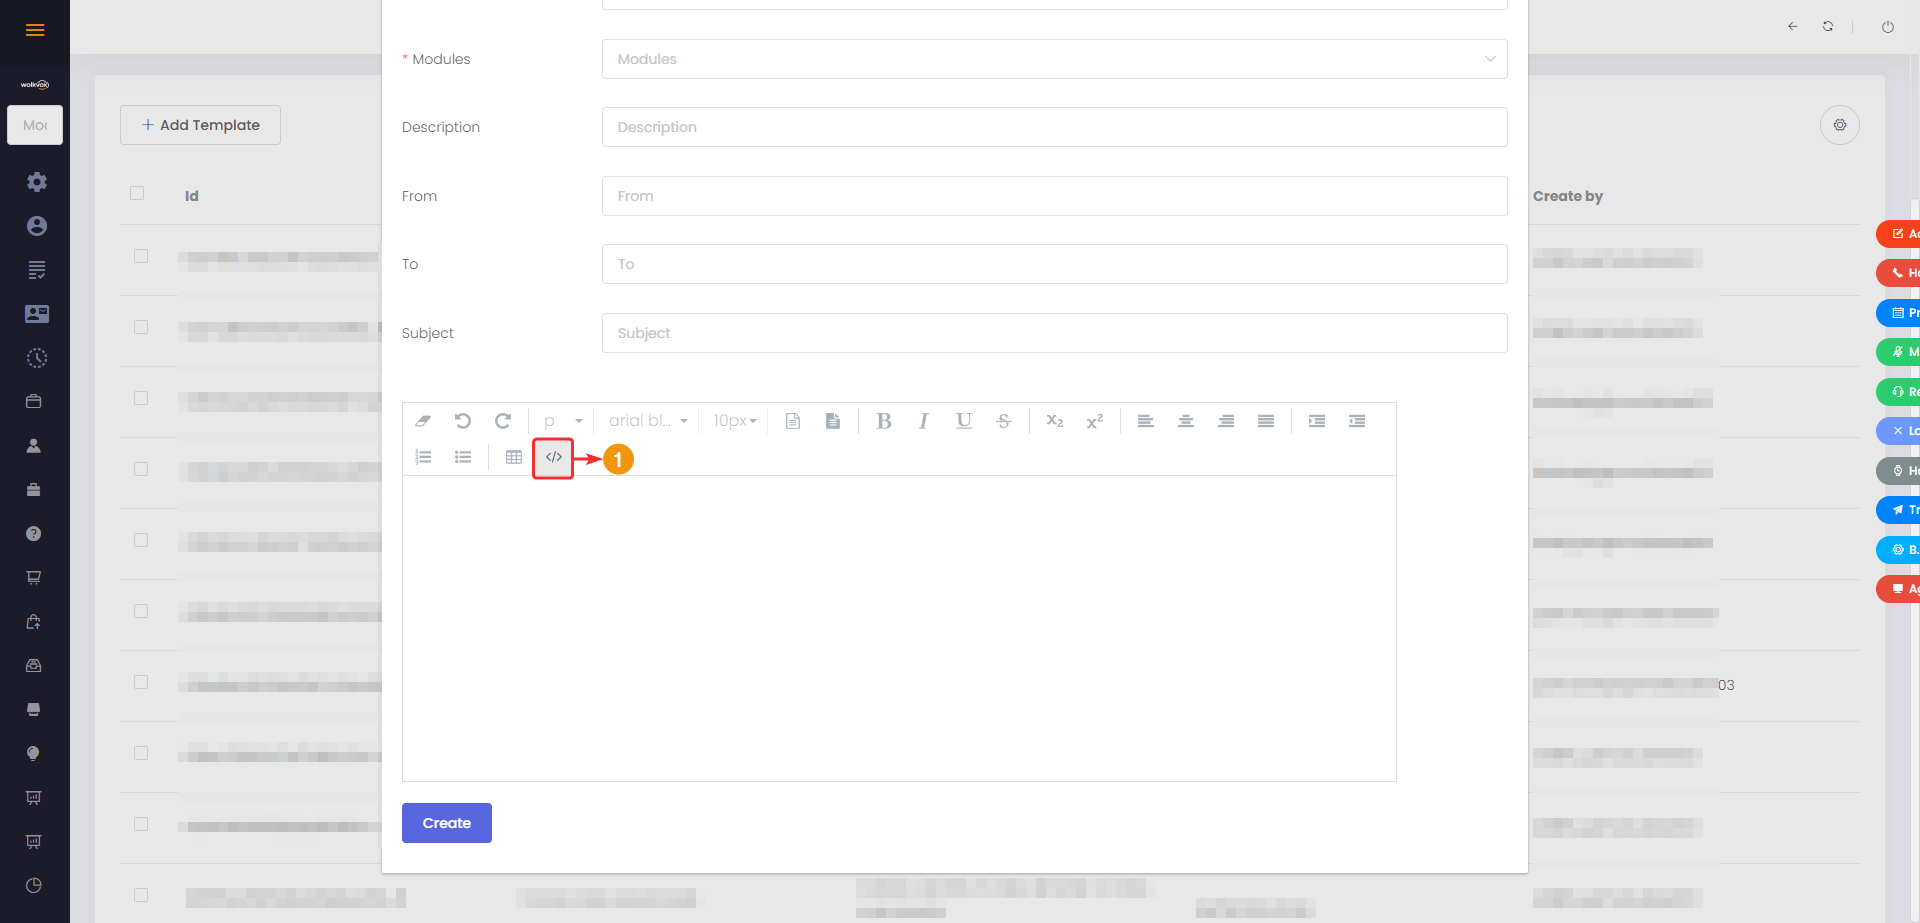
You can click the button again to deactivate HTML code editing and preview how the template would look.
Finally, click on “Edit” to apply the changes.

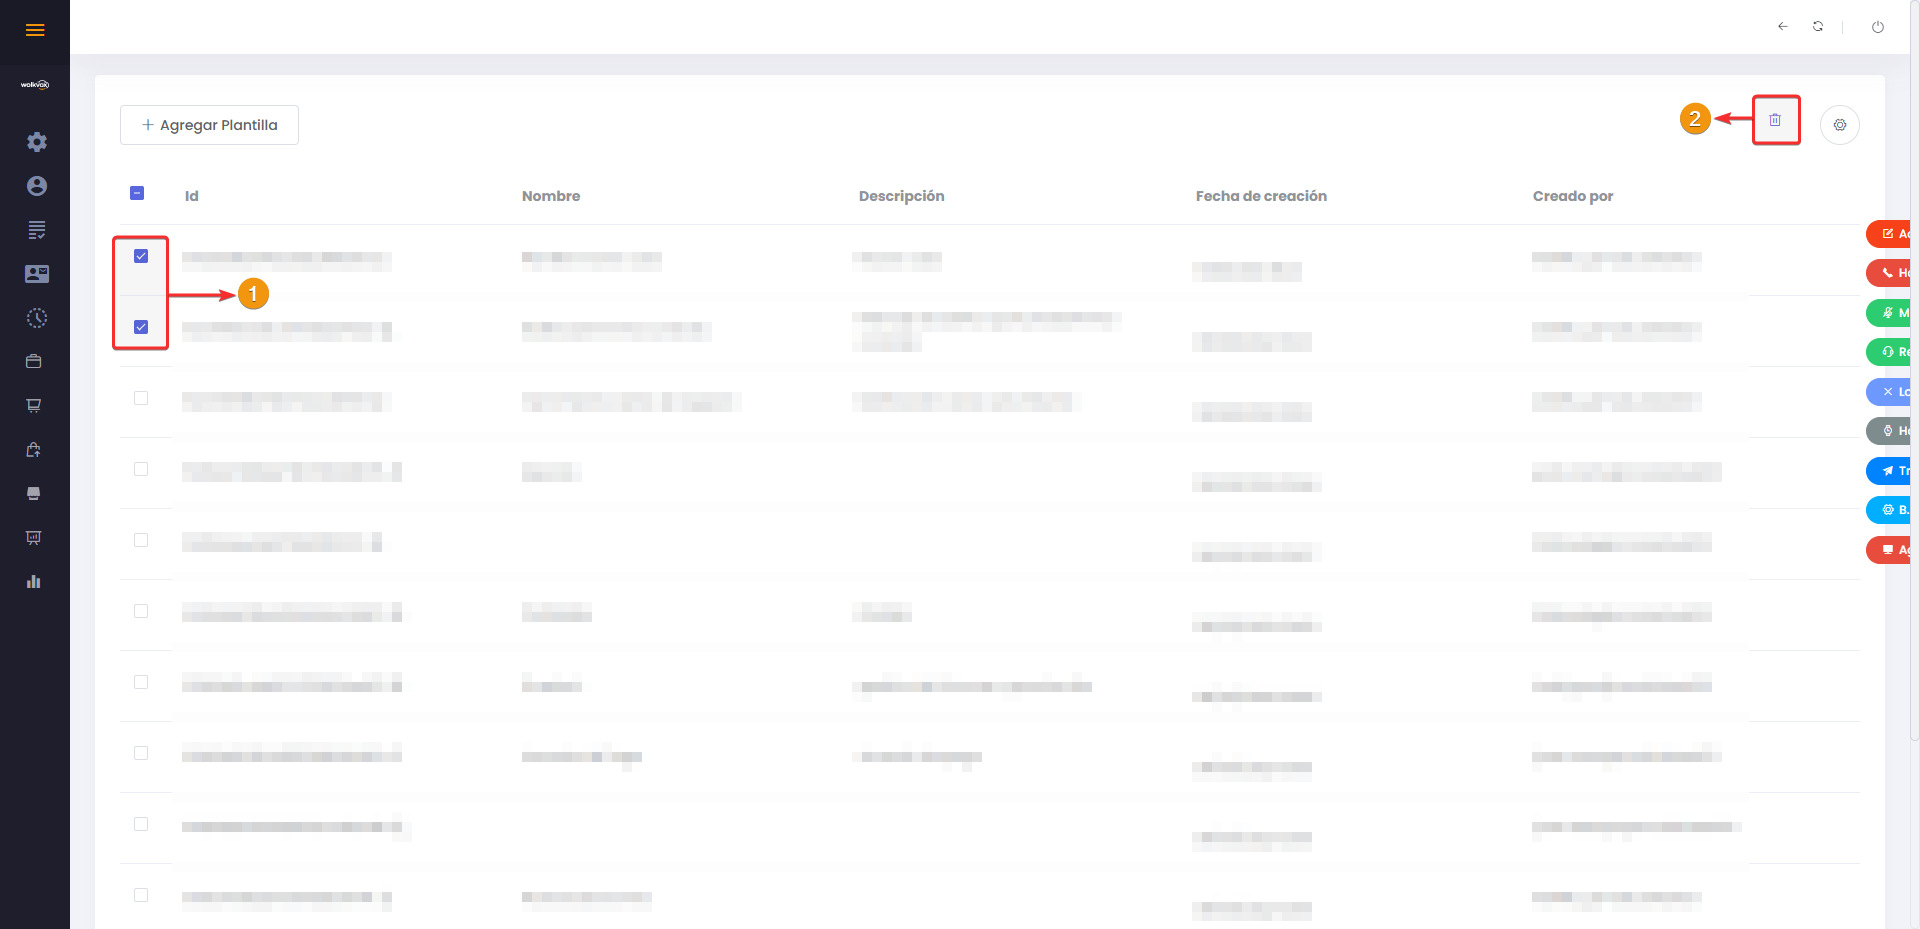
Delete Templates #
It’s possible to delete templates by selecting the checkbox for each item in the list and clicking on the trash can icon.
Creation of Web Forms #
In this section, you can create forms that could be used to embed in a website or other tools that allow HTML code embedding. This feature can serve various purposes, such as collecting customer information, lead generation, feedback collection, event registrations, surveys, and more. It provides a seamless way to gather data directly from external sources and integrate it into the CRM for further analysis and action.
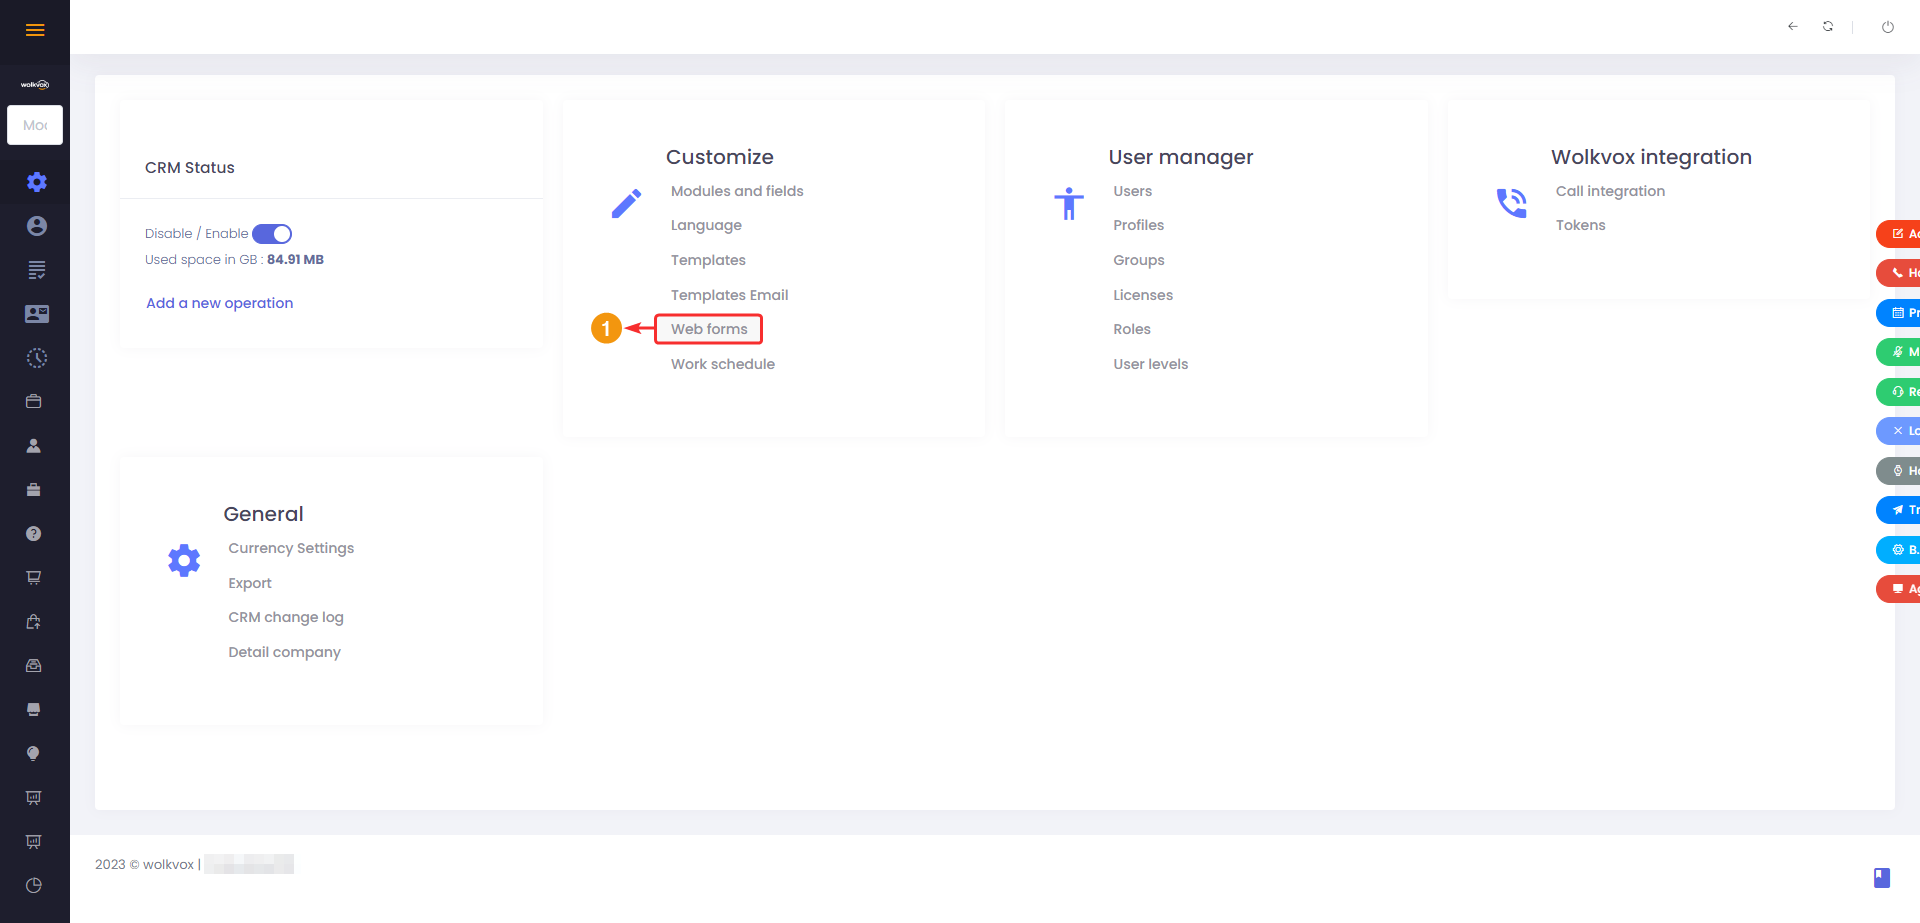
Access it from the “Settings” section and then click on the “Web Forms” button in the “Customize” group.
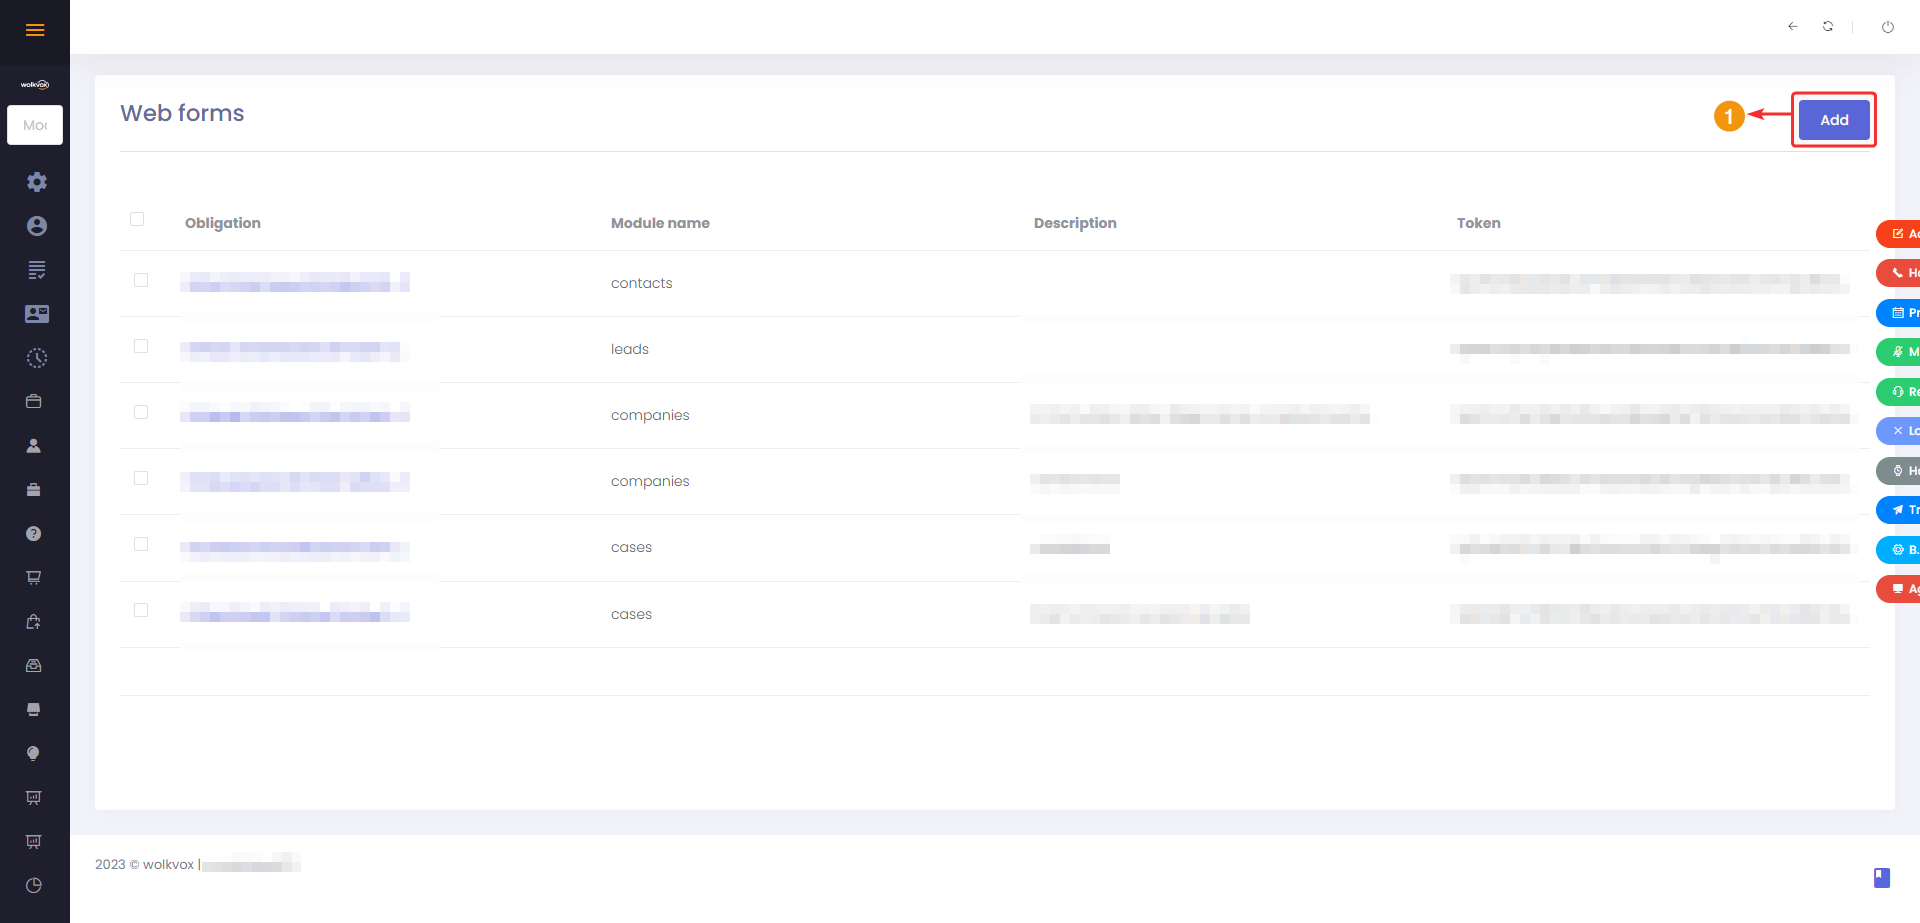
Click on the “Add” button.
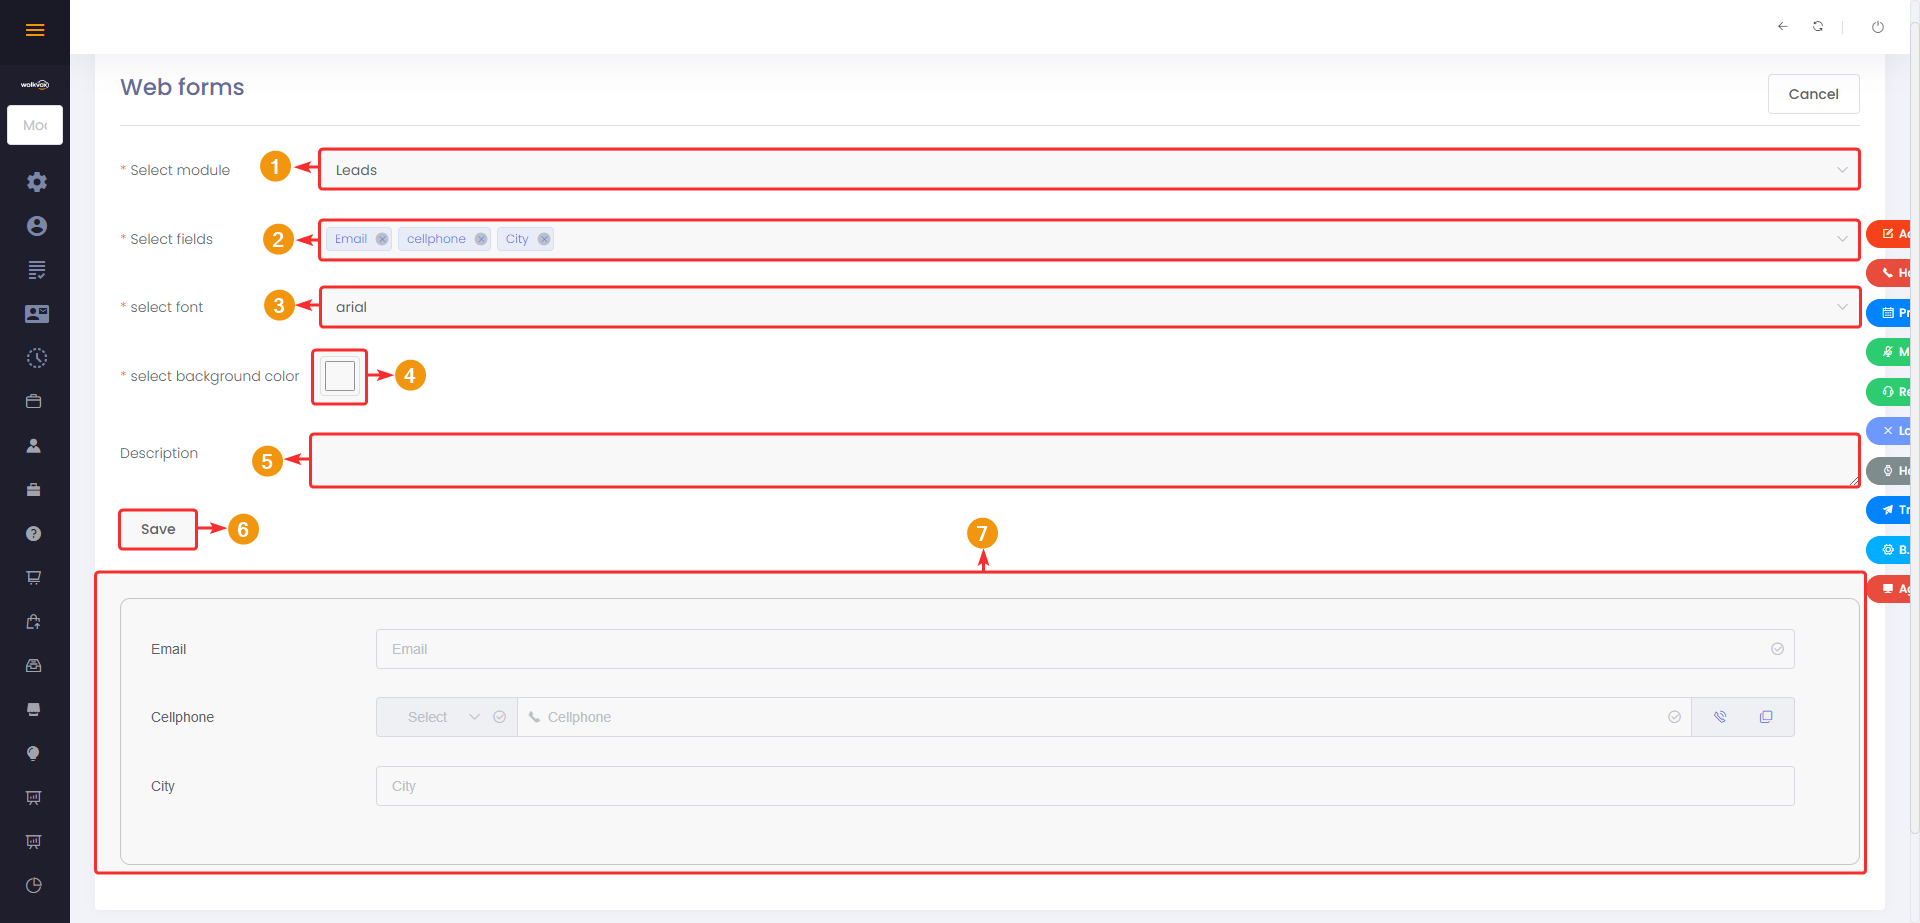
- Select the module that will be linked to the form.
- Click on the “Select fields” field to display a menu where you can choose which fields to add to the form. The listed fields are the ones available in the selected module.
- You must choose a font or typography for the texts.
- Select a background color for the form.
- You can add a description about the form.
- When adding fields, the “Save” button appears to apply the changes.
- At the bottom, you can preview the form.
Once you have successfully saved the form, go back to the list of created web forms and find the web form you want to embed.
- Hover over the item in the “Token” column to display a window called “Example”.
- Select all the code by triple-clicking and copy it.
- With the copied code, you will need to go to your website or the location where you want to insert it and paste it into the source code.

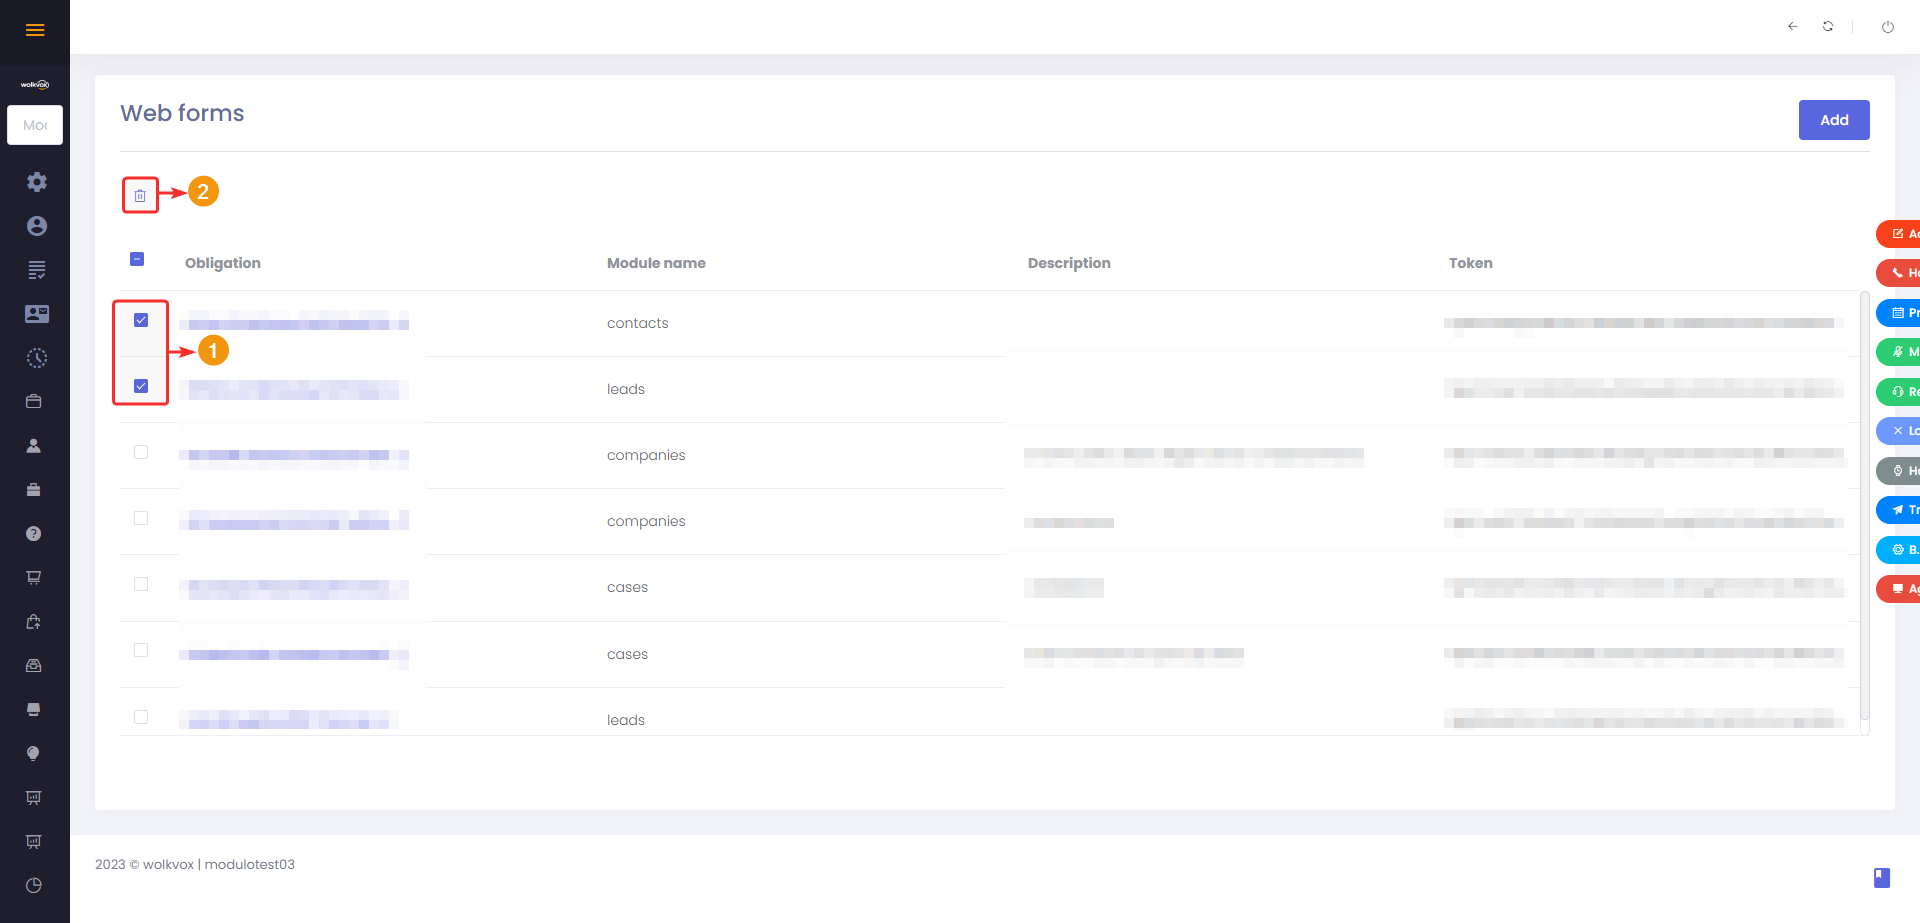
Delete web form #
You can delete a web form by selecting the checkbox next to each item and clicking on the trash can icon.
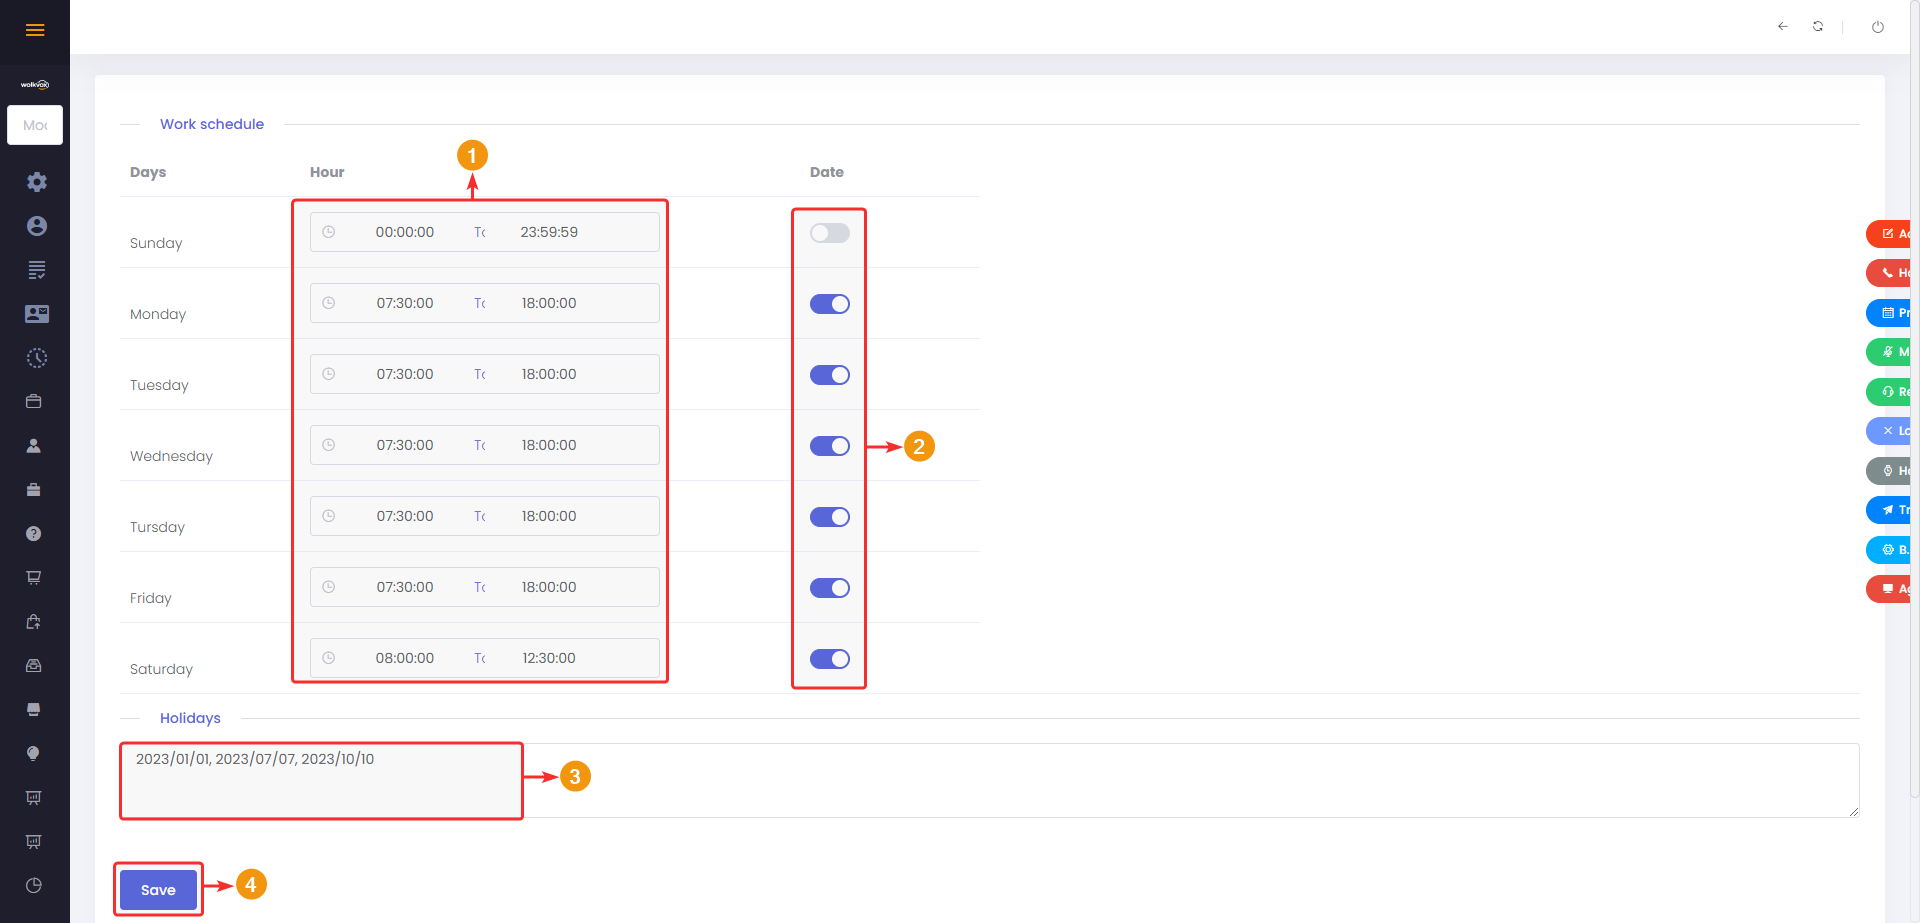
Work Calendar Configuration #
In this configuration, you need to define the working hours of your operation. It is primarily used in case closure calculations.

Once you enter this section, the following table will appear where you can set up the schedule per day. Follow these steps:
- In the central column, click on the respective field for each day to set the start and end time.
- In the right column, use each button to indicate whether the specified day is a working day or not. If the button is grayed out, it means the day is not a working day. If it’s blue, it signifies a working day.
- In the “Holidays” field, input the dates of holidays or special days when the operation will not work. The format for entering the date is Year/Month/Day. For example, 2023/01/01. To enter multiple dates, they should be separated by commas. If the format of any date is incorrect, the following message will appear: “Any of the dates entered are invalid, please check.”
- Finally, click the “Save” button to apply the changes.