


This component allows you to create conditionals and based on the validation of those conditions, it guides the customer towards one path or another. In other words, it allows you to branch the customer’s journey and continue in a specific direction depending on the fulfillment of the established conditions.
It is located in the component group called “Communications” and is available in all types of routing points (Voice, Interaction, Chat, and CRM + webhook) as well as in Agent Scripting.
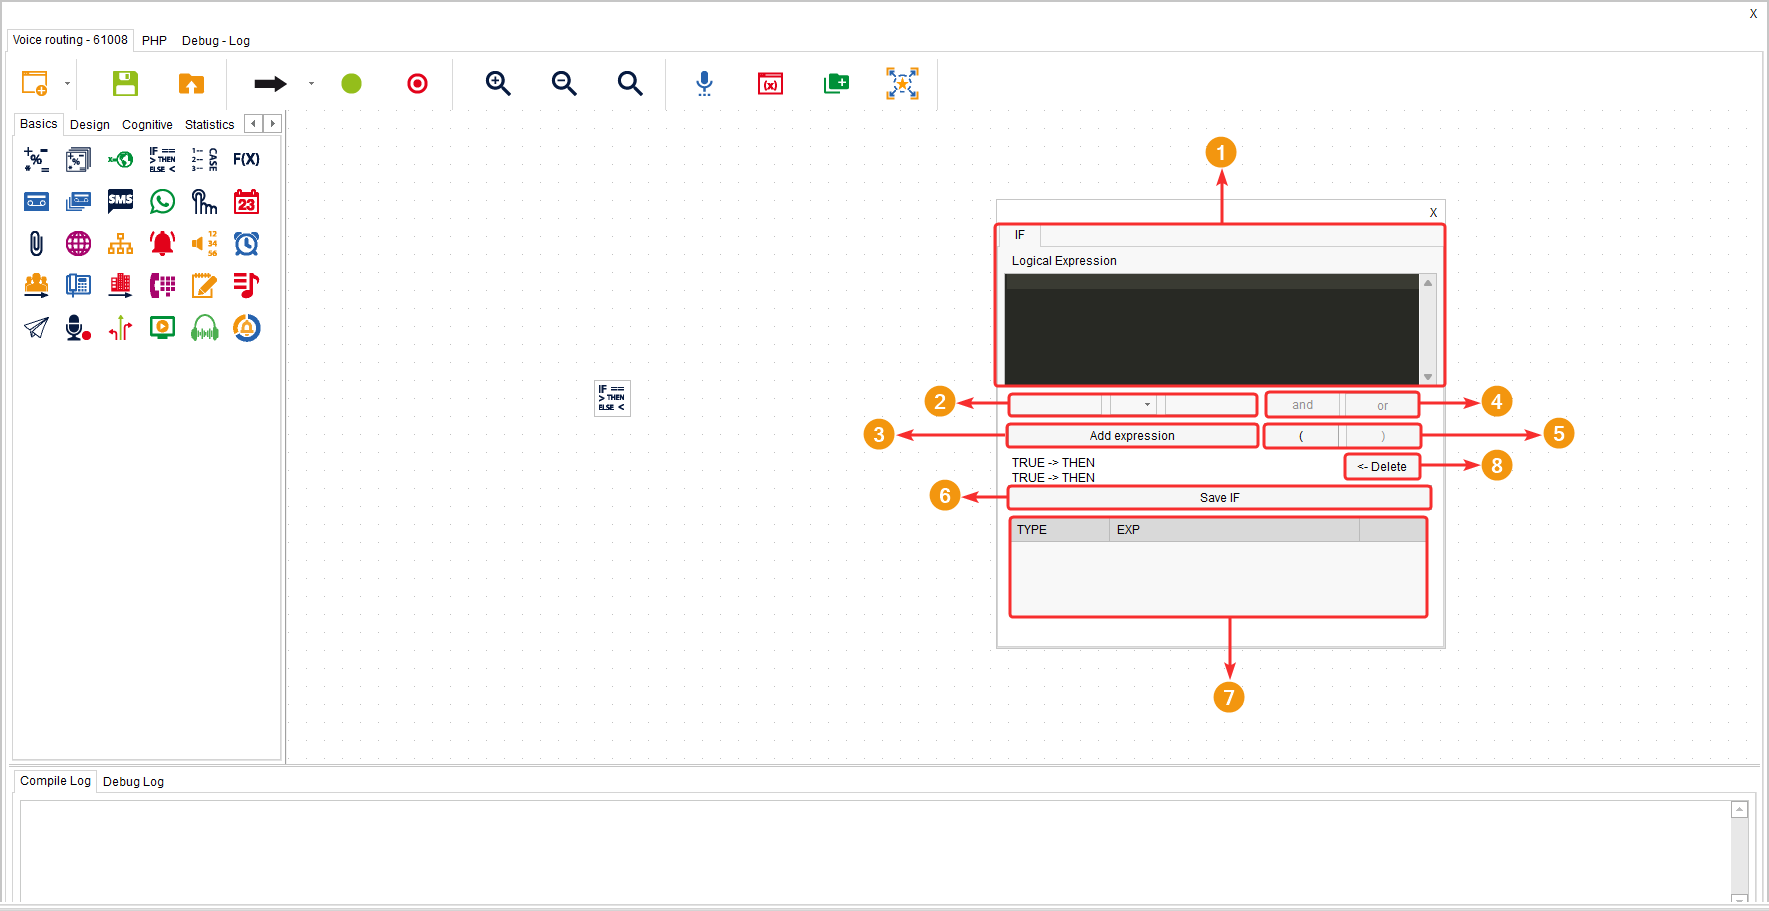
Configuration #
- Logical Expression: This is the area or board where the code being added is previewed.
- An expression is a condition used to compare one piece of data with another. Expressions are added by filling in the necessary information in the three fields. In the first field, you add the variable name. In the second field, you select the comparison operator. In the third field, you define the value of the variable that you want to compare in the condition.
- Add the created expression using the “Add expression” button.
- The “and” button is used to indicate that there are other conditions to consider, and the expression will be true only if all conditions are met. The “Or” button is used to indicate that there are other conditions to consider, and the expression will be true if at least one condition is met.
- The opening parenthesis “(” button allows you to add an expression that will be enclosed within parentheses. The closing parenthesis “)” button allows you to close an expression that is enclosed within parentheses.
- The “Save if” button allows you to save the constructed table of expressions.
- The table located at the bottom lists the expressions and conditionals that you have added. Right-clicking on an element allows you to modify its configuration.
- The “Delete” button allows you to remove a selected element.
After adding the expression or expressions you needed and connecting the component to a route in the flow, a menu appears asking you to select “THEN” or “ELSE”. In other words, the system is asking you to define which path to follow if one condition or the other is met. “THEN” is used when the expression is true, while “ELSE” is used when the expression is false.
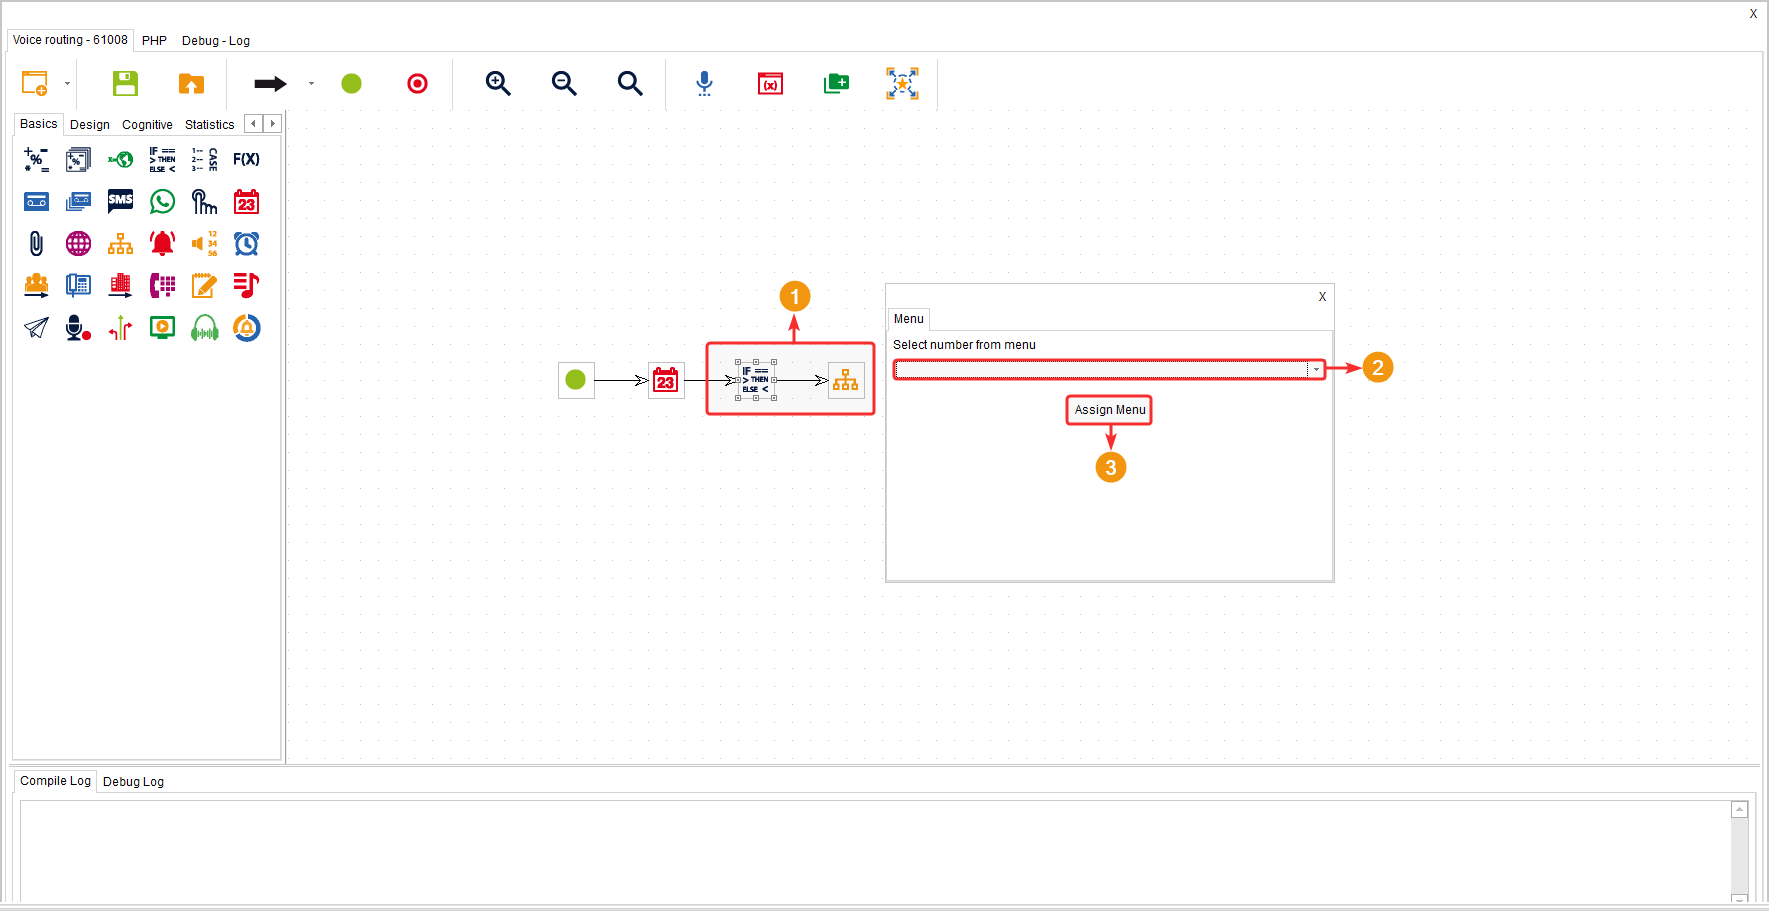
Example #
In the following example, the “If -> Then” component has been used to branch the flow depending on whether a client calls on business days or non-business days. If the client calls during business hours (THEN), they proceed to the menu and then are routed to an agent. But if they call outside business hours (ELSE), an audio is played and the call is terminated.

