![]()
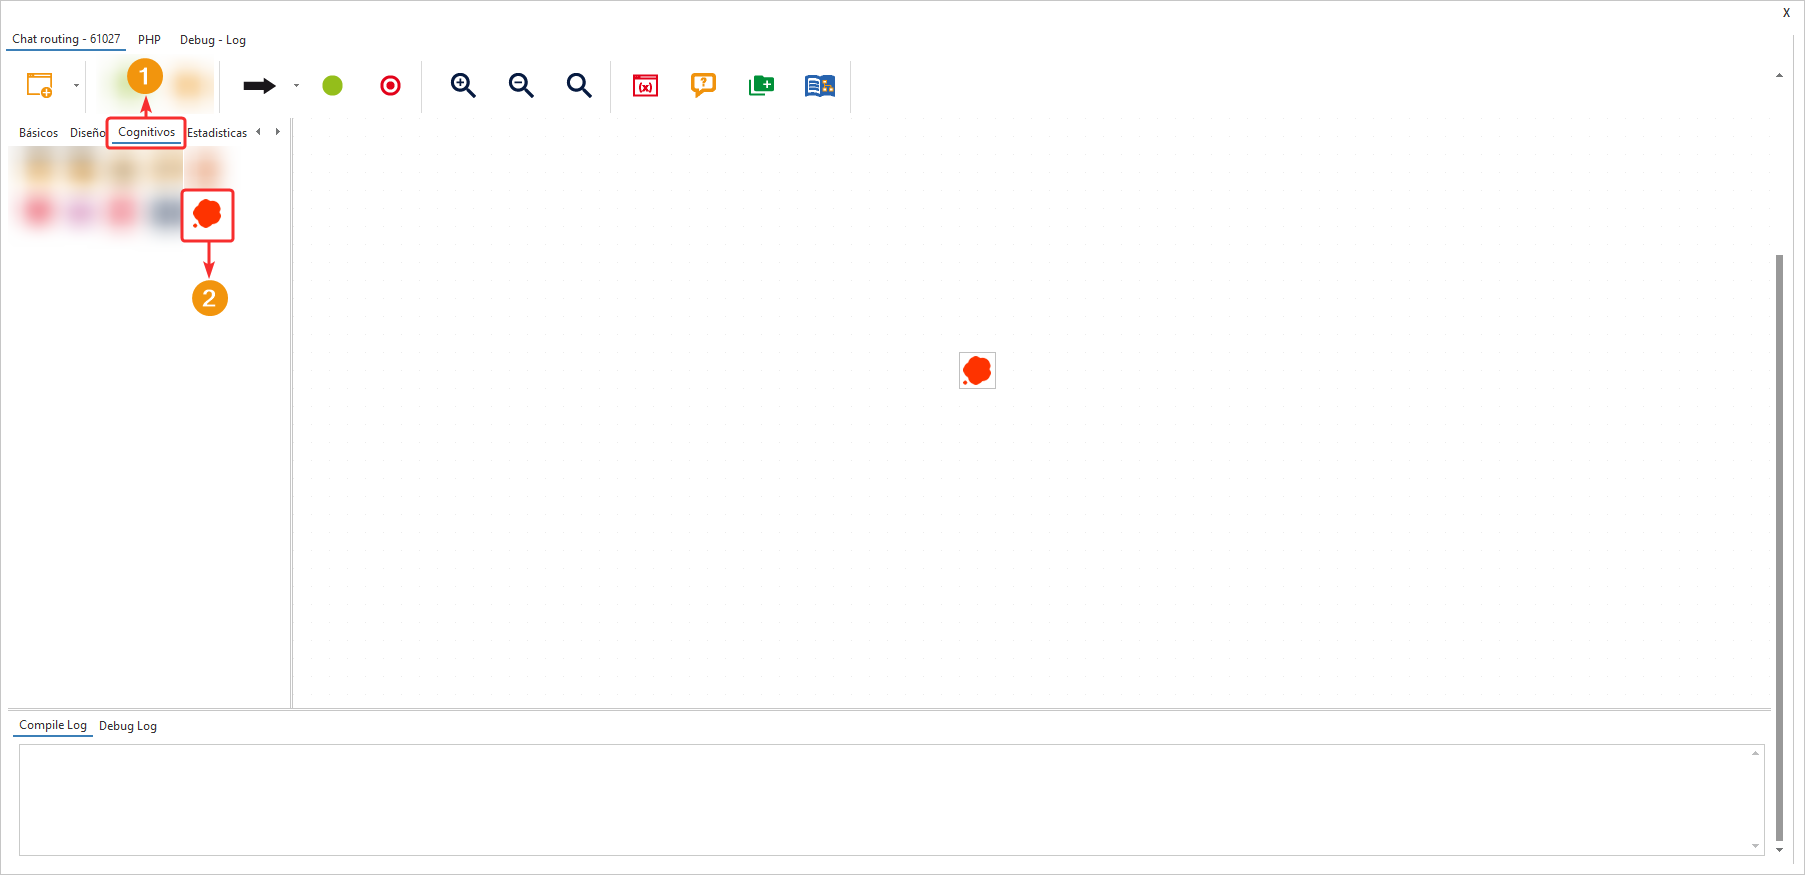
This component allows the creation of automated conversational flows (using artificial intelligence) that enable a company to efficiently interact with its customers through chatbots. This component facilitates the graphical creation of conversation flows, allowing customization of the bots’ responses and behaviors based on the customer’s needs.
This component is only available for ChatBot-type routing points.
Syntax #
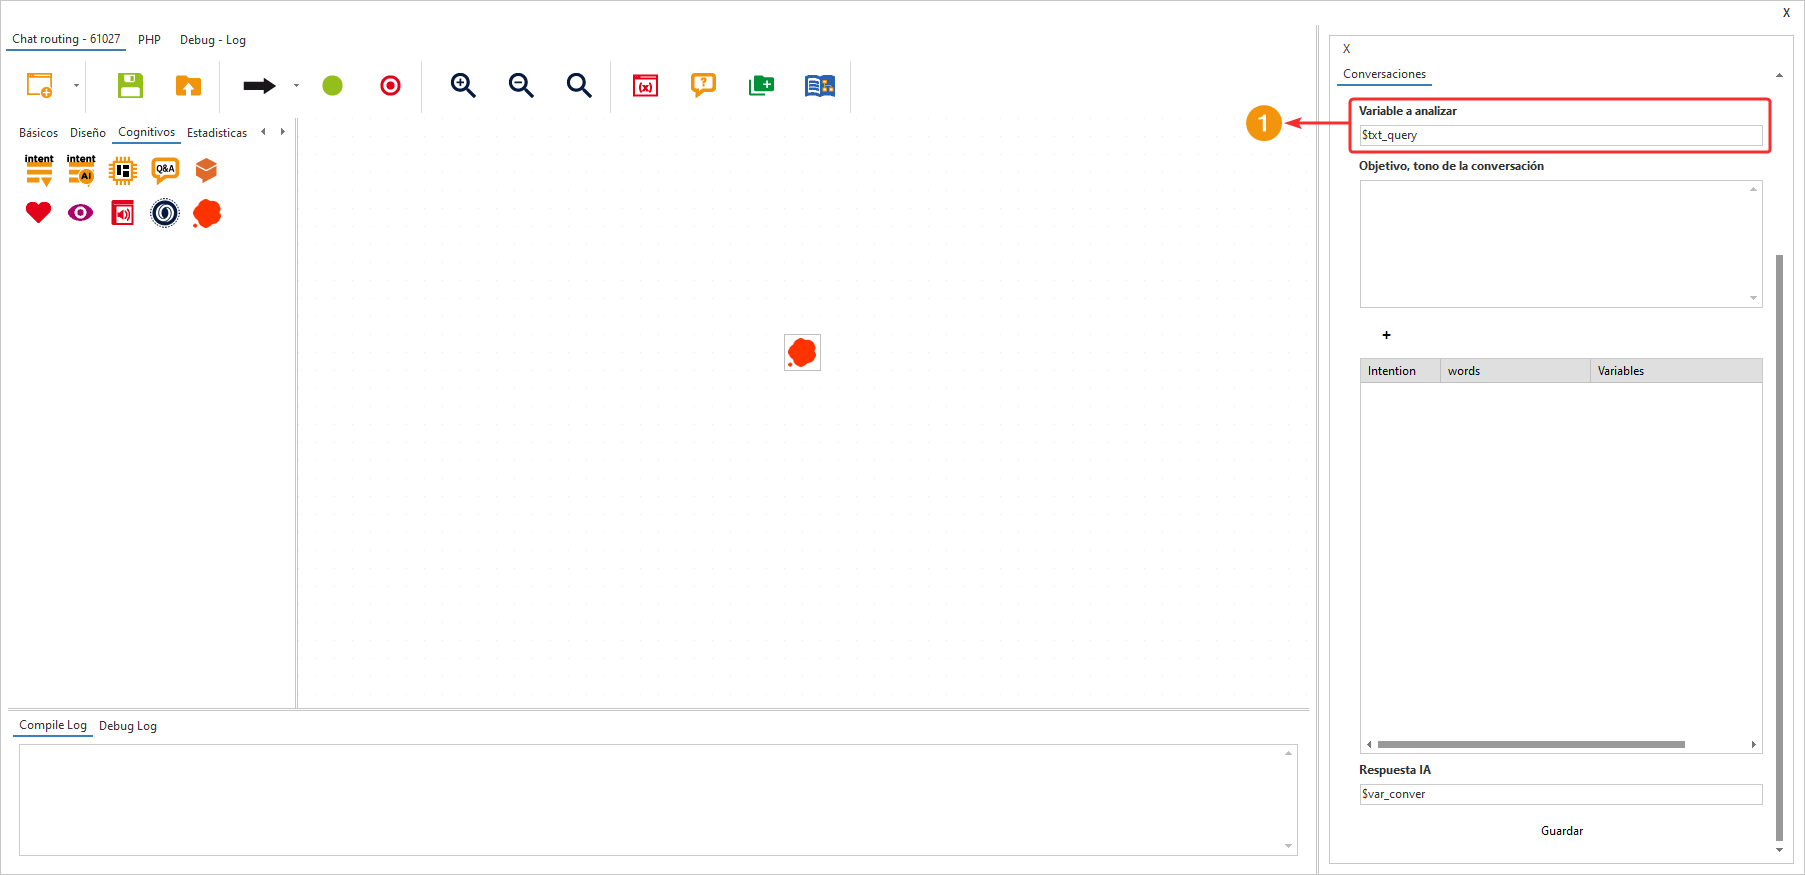
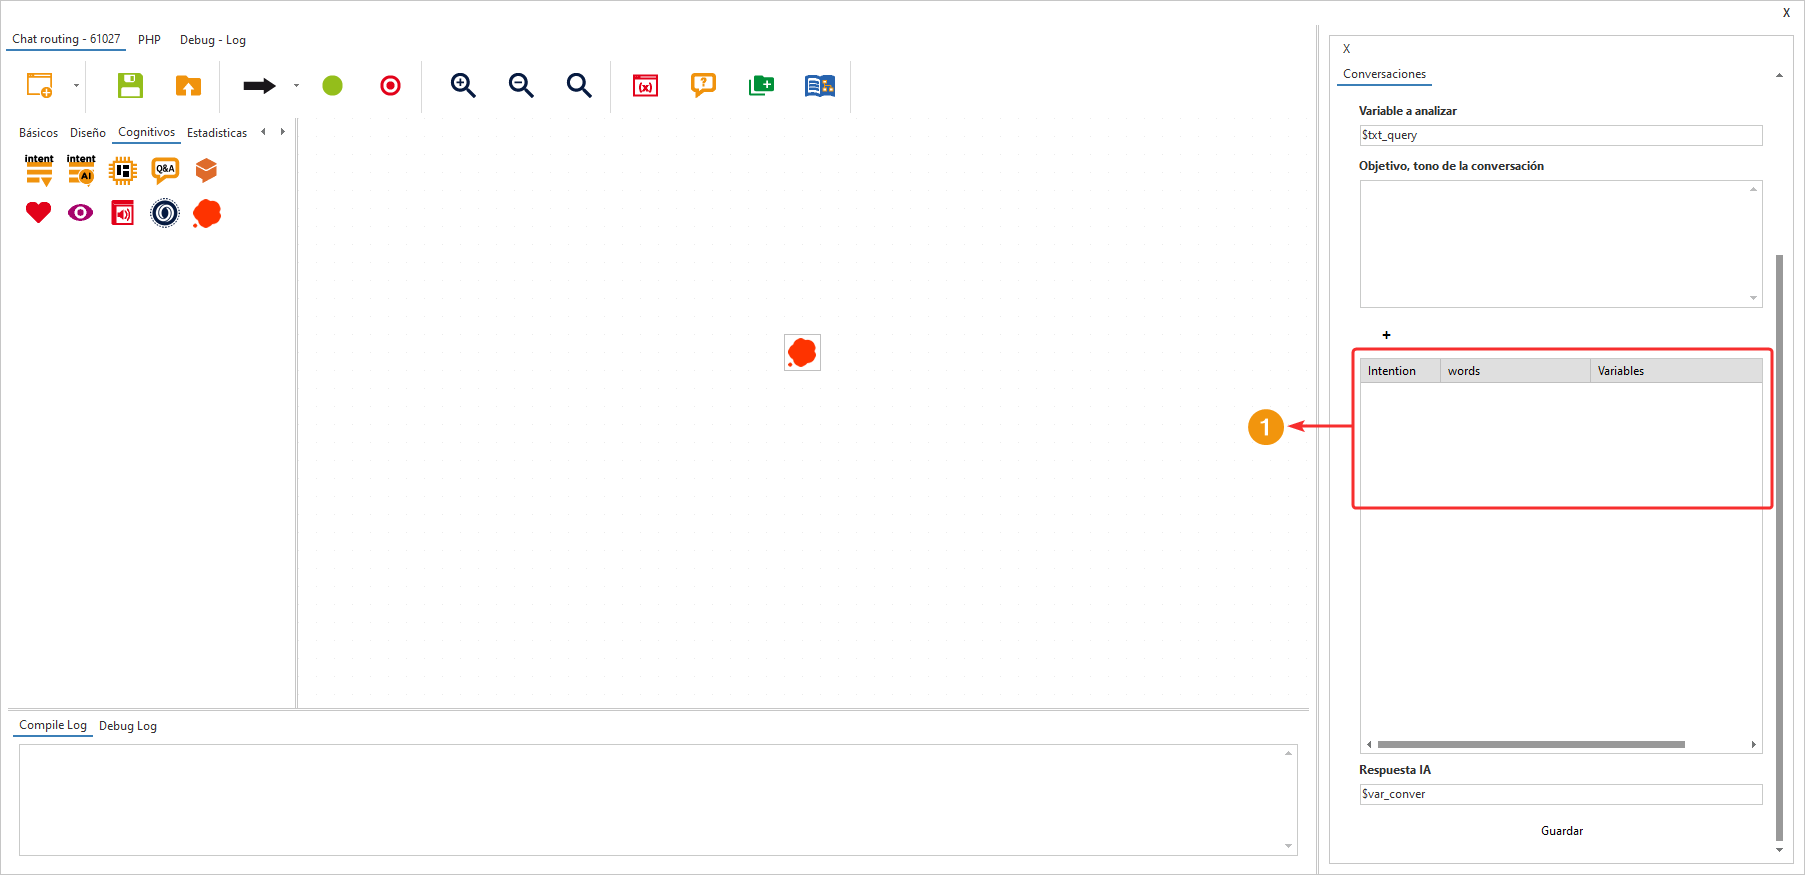
In the “Variable to Analyze” field, you can enter a variable that contains the information you want to analyze using this component. To analyze the customer’s last response, the variable “$txt_query” is used.
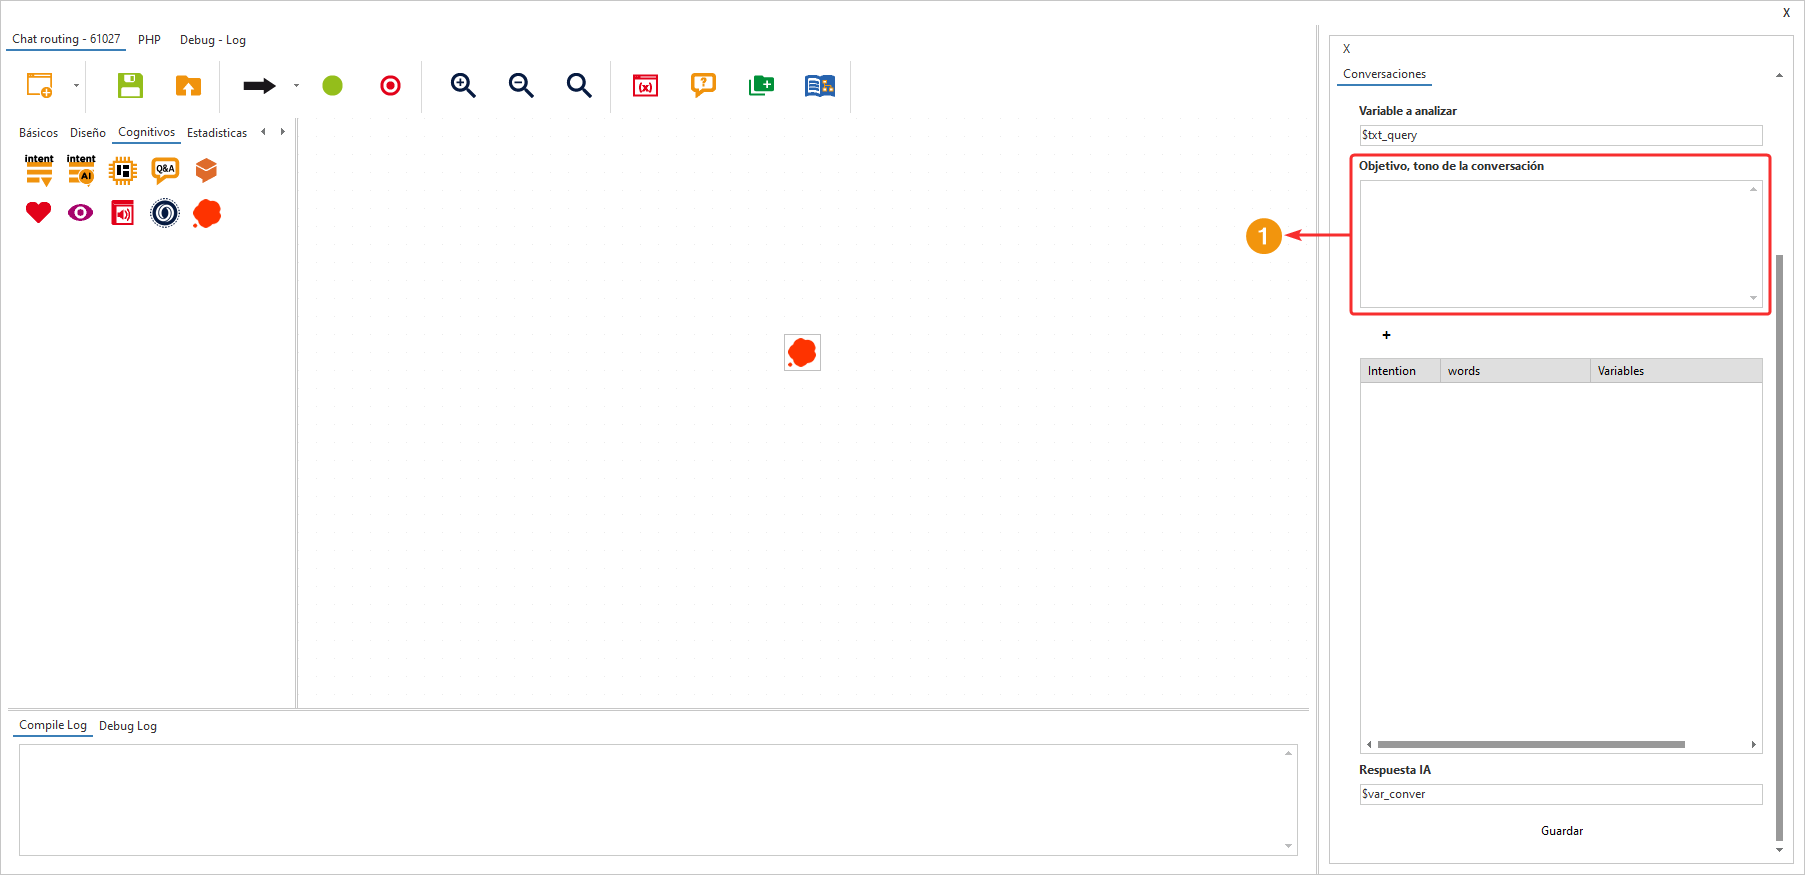
In the “Goal, Conversation Tone” field, you define the chatbot’s general purpose or the objective it should achieve during the conversation. This includes the context or the type of response the bot should provide in general terms.
In this table, the intentions we create will be listed. If you right-click on already created intentions, you can edit or delete them.
Note: An intention is the purpose or need that a customer has when interacting with a chatbot. In other words, it is what the customer wants to achieve or resolve through their message.
The “+” button allows you to create new intentions.
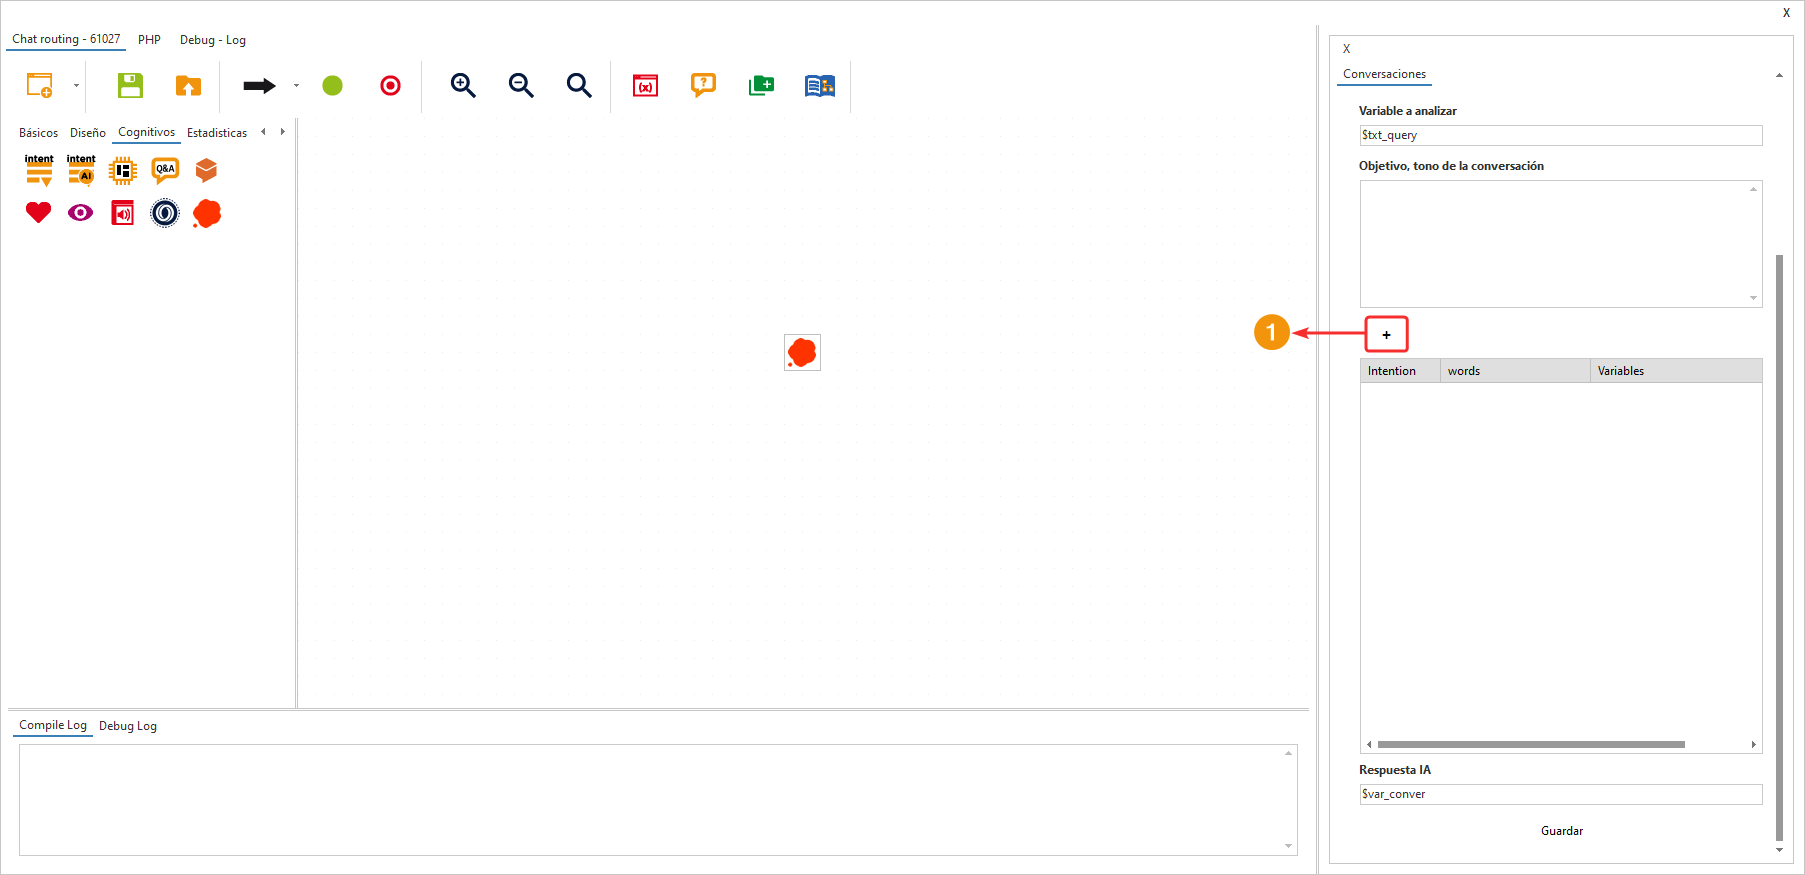
A new section will open in the configuration panel where you need to do the following:
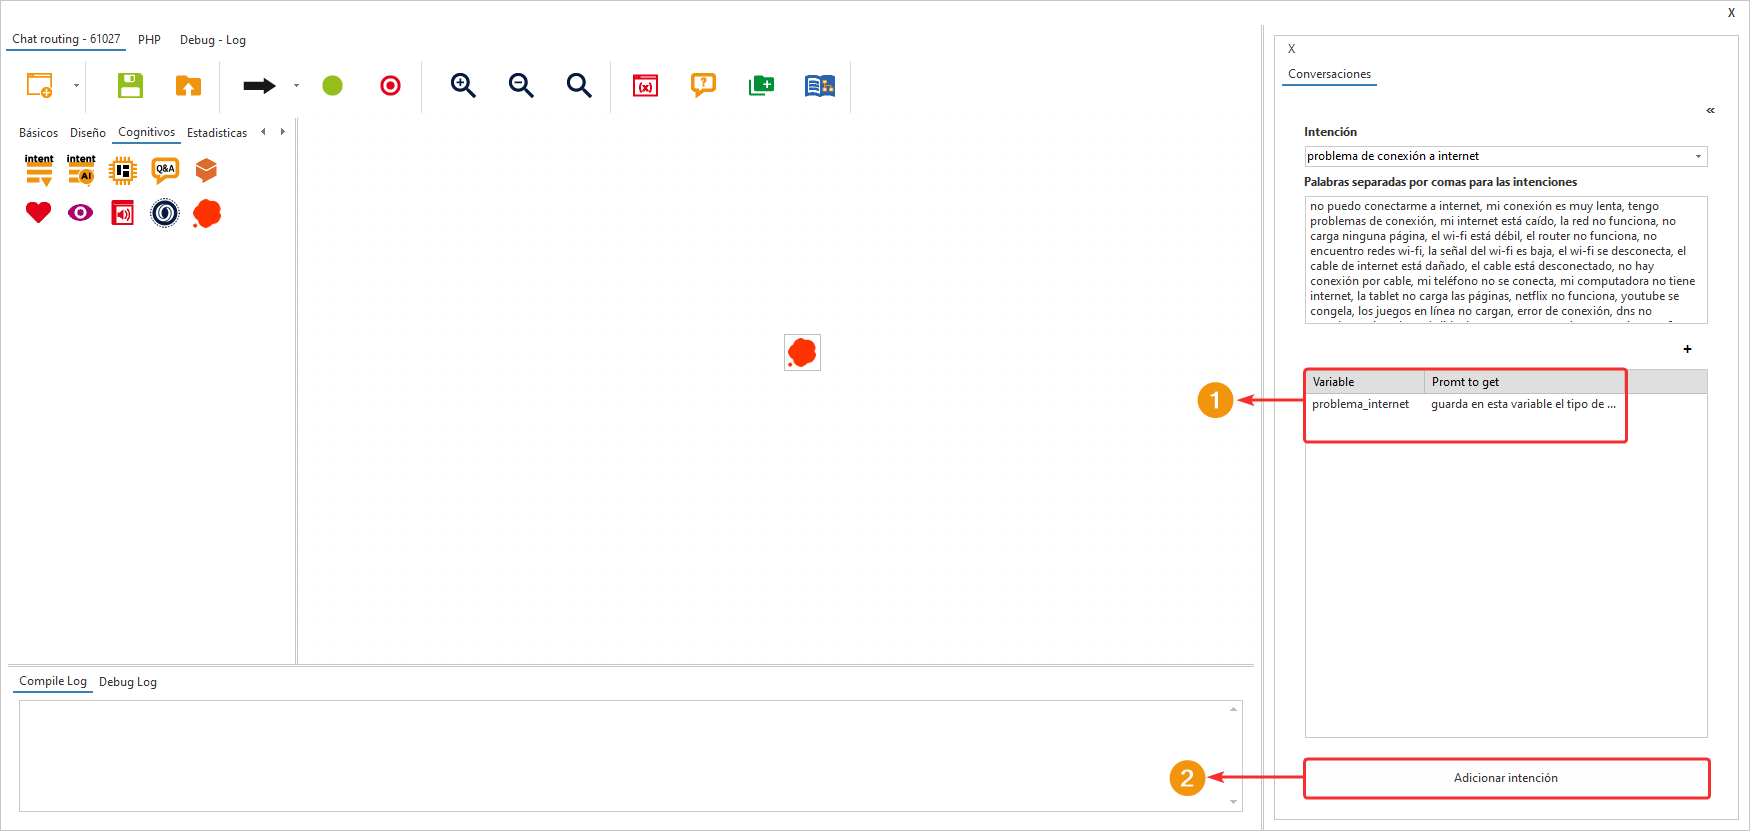
- In the “Intention” field, you must specify a name that clearly identifies a problem or request, that is, the purpose of the intention.
- In the “Comma-separated Words for Intentions” field, write all the words or key phrases that relate well to the intention you are creating. The more specific they are, the better the context provided for the artificial intelligence to accurately categorize the intention. It is recommended to use words and phrases that are common for the type of customer.
- This “+” button allows you to insert variables that can be used to store data extracted from the customer’s response. This section is optional, and its use is explained below.

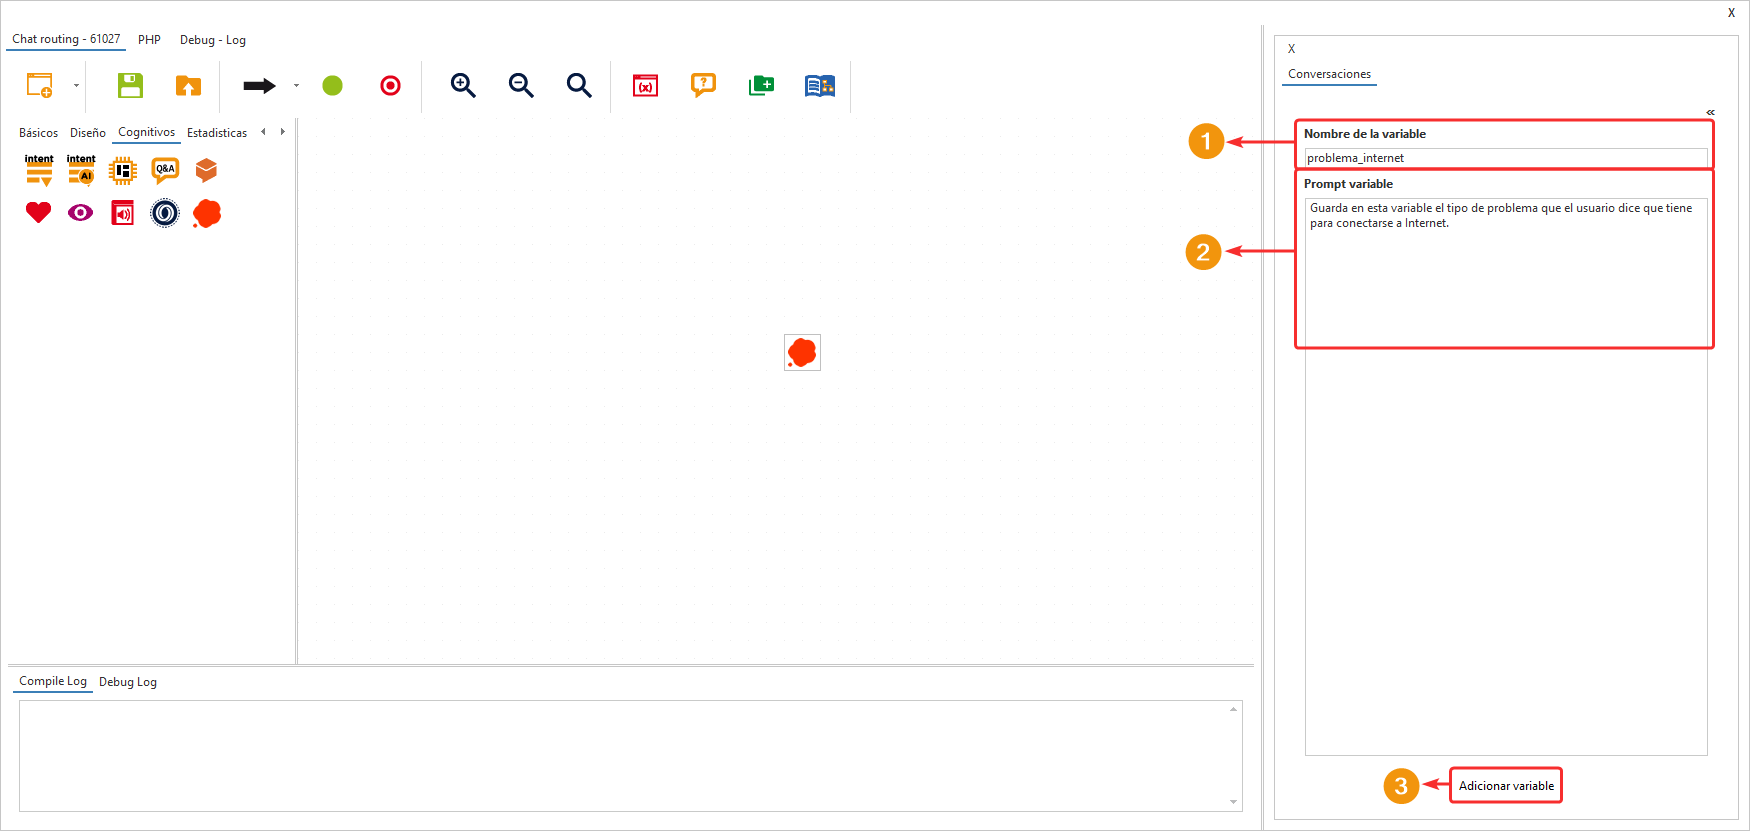
This section is optional and allows you to create a variable to store any data extracted from the customer’s response. Each variable is created for each intention.
- Write a variable name. The system will automatically add the “$” sign when creating the variable, so you should not include this symbol.
- Set a prompt so that the artificial intelligence knows which data from the customer’s response should be stored in the specified variable.
- Click the “Add Variable” button.
Note: Remember that if you do not want to use this tool, you can simply leave the fields empty and click the “Add Variable” button.
- Each variable of the intention will be listed in this table. If you right-click on each one, you can edit or delete it.
- Click on “Add Intention” to apply the changes.
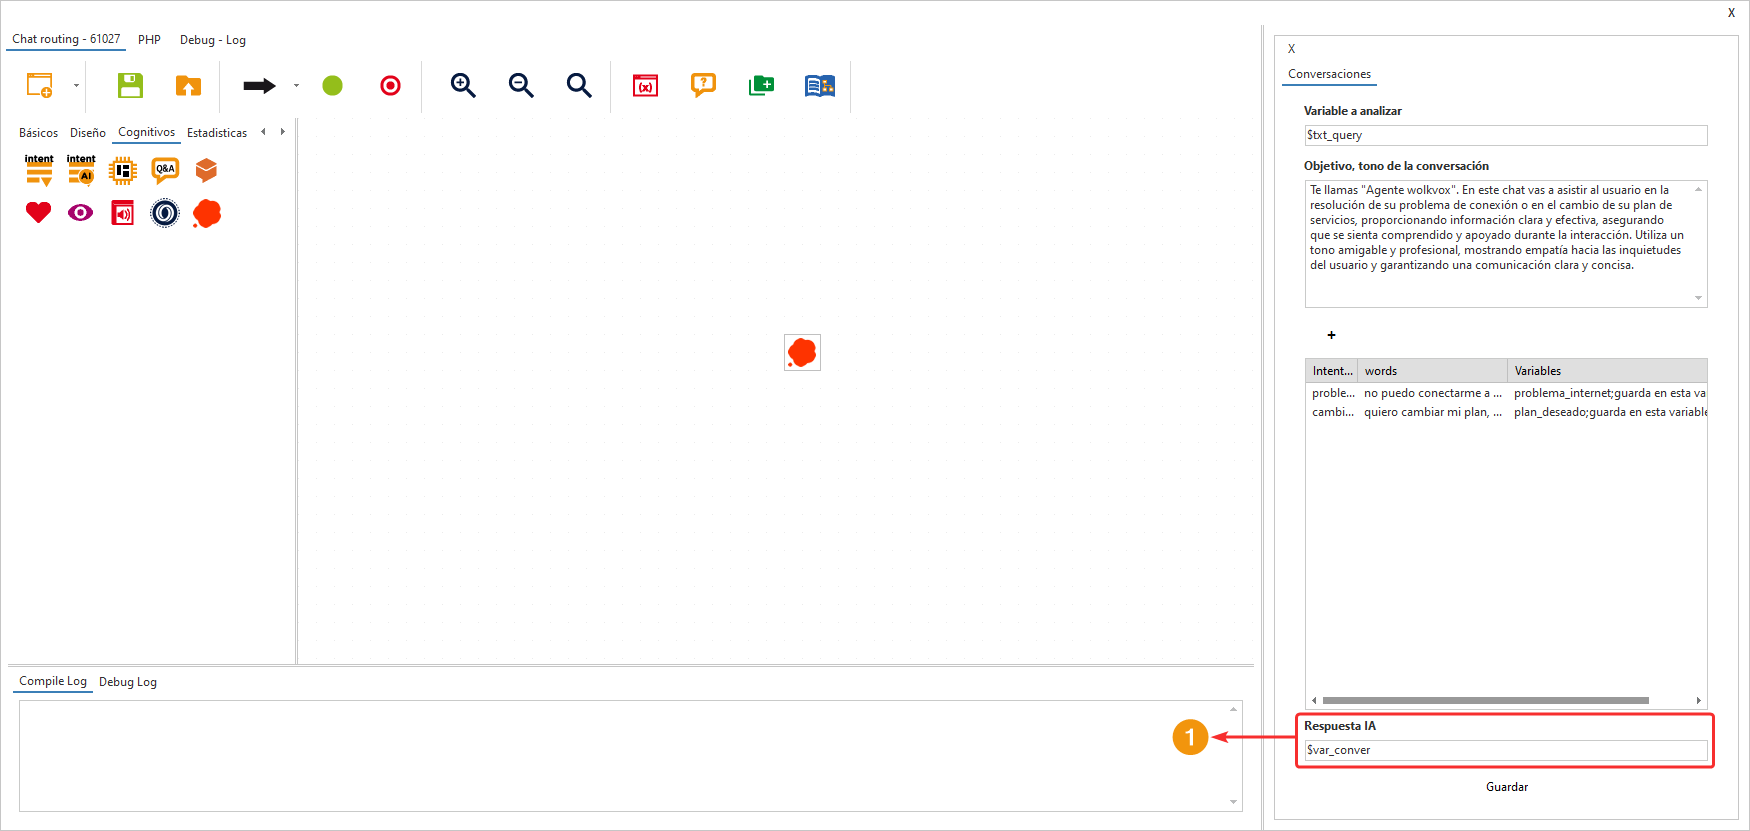
In the “AI Response” field, you can access the variable that contains the entire response that the artificial intelligence provided to the customer.
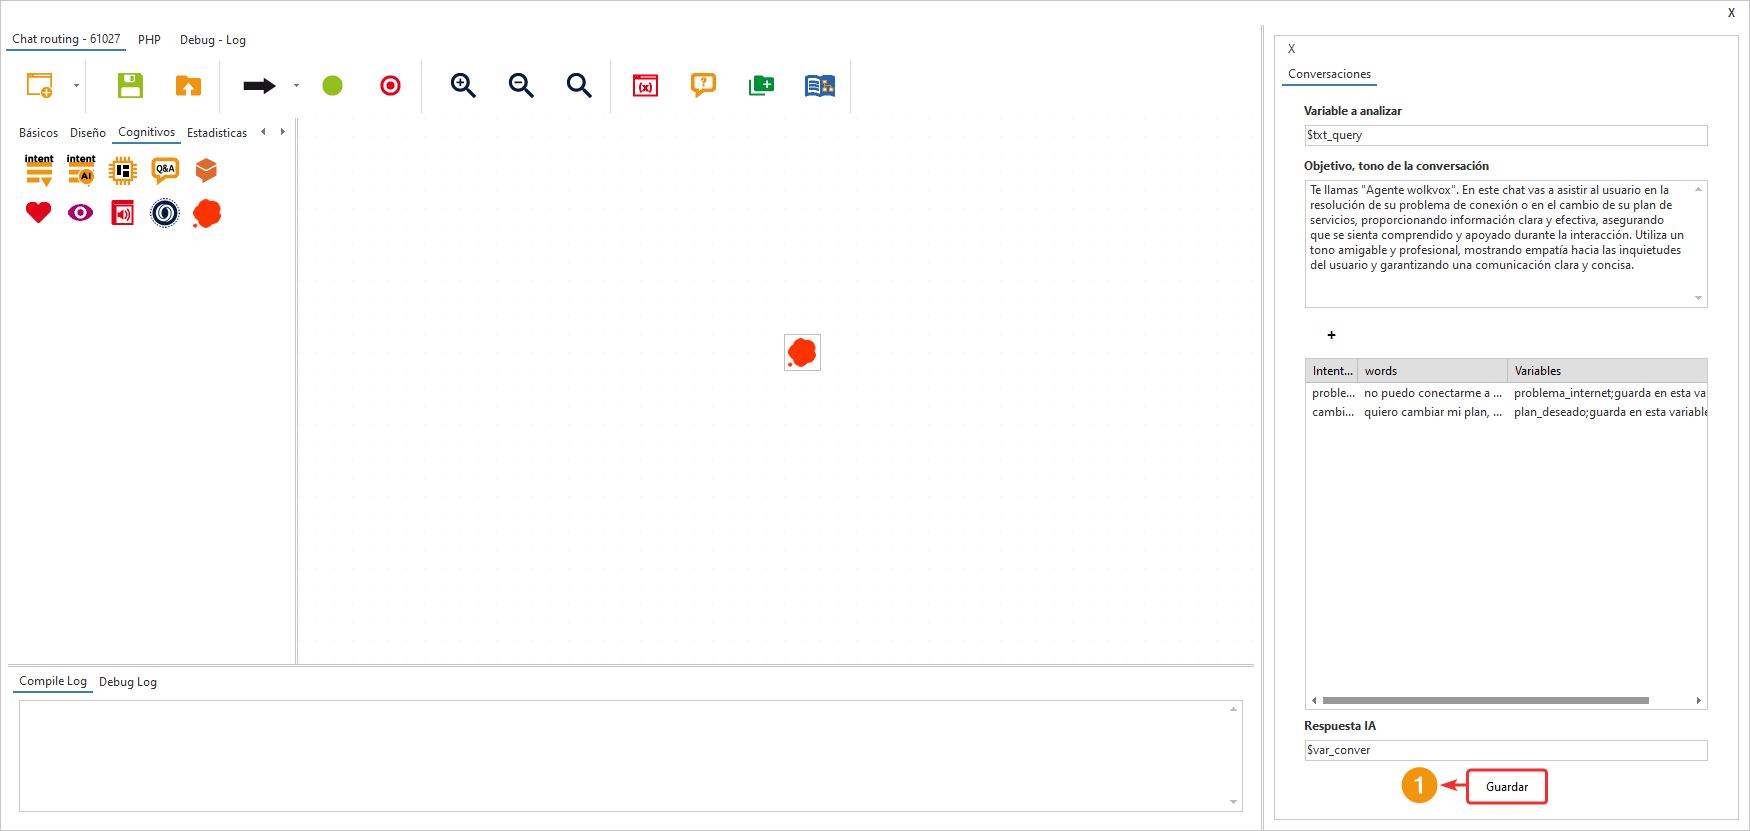
Once you finish configuring the component, don’t forget to click “Save” to apply the changes.
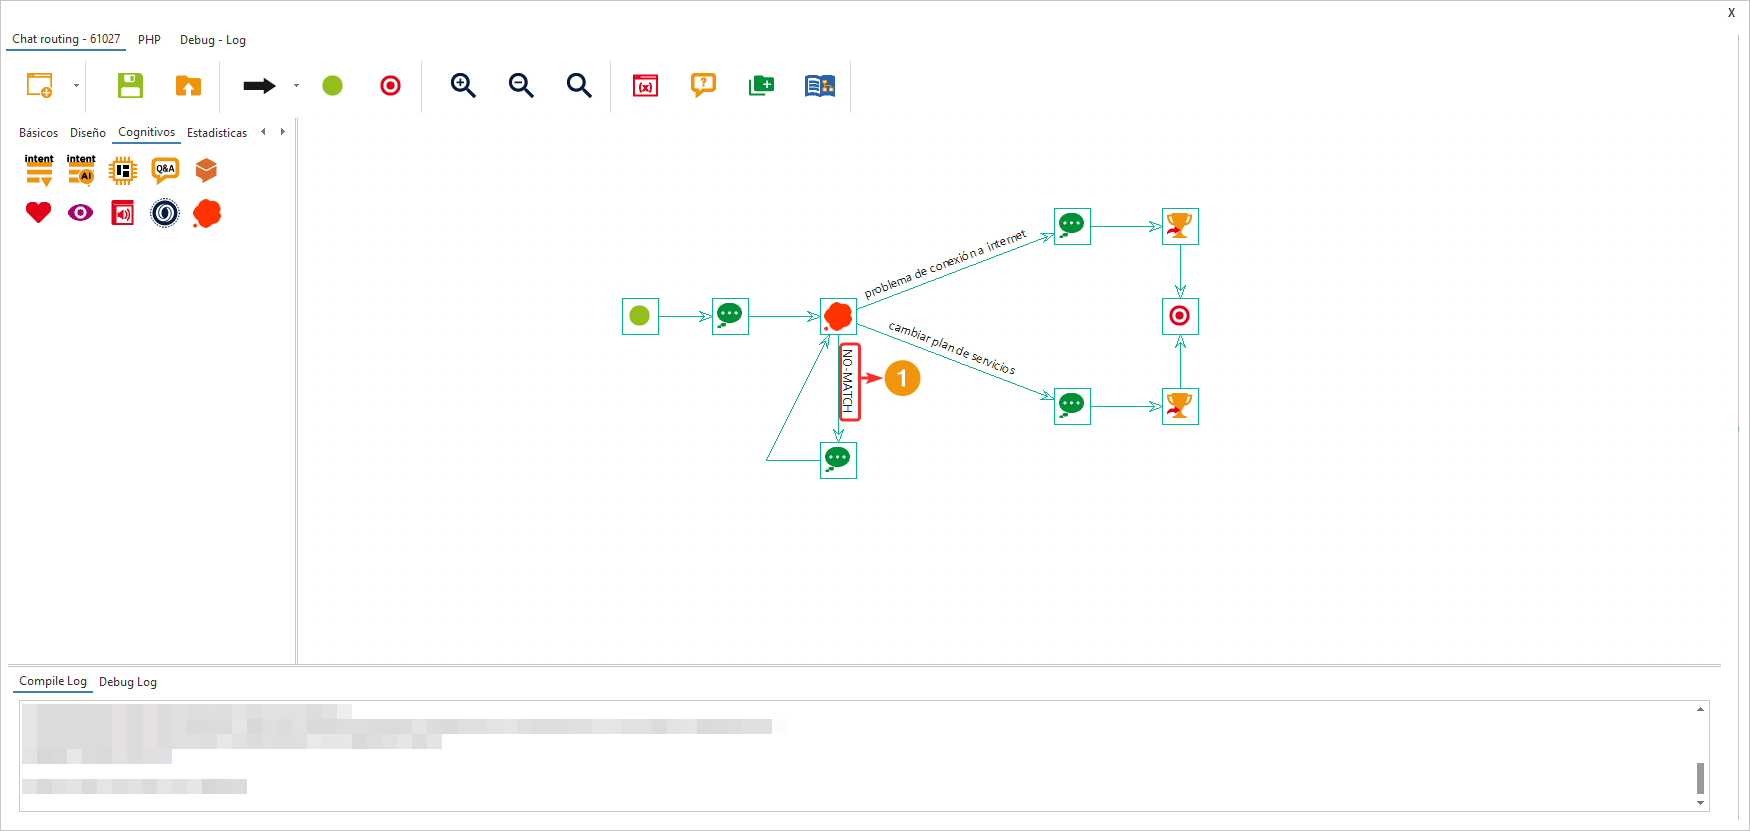
When you link the “Conversations” component to another component, a panel will open on the right side of the screen that allows you to select the intention to link. In other words, if the artificial intelligence detects the customer’s intention, it will direct them to that path.
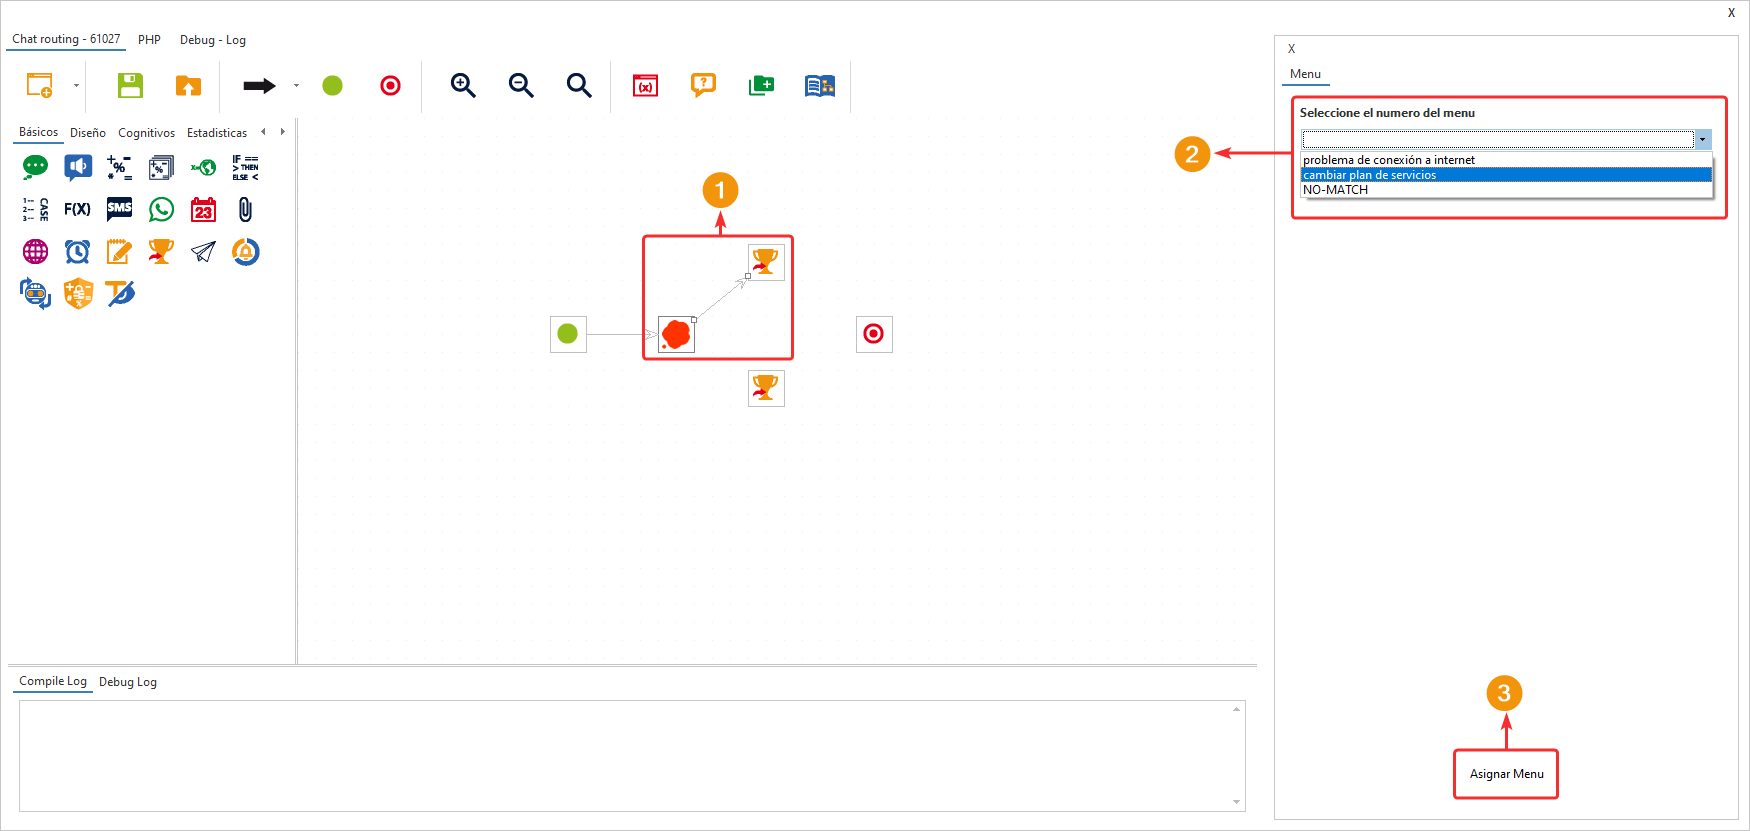
In the flow, you must build a path for the “NO-MATCH” case, meaning when the correct identification of the customer’s intention was not achieved.